Lulzbot shows us how to build a fully functional longboard using 3D printing technology. You can follow along with their surprisingly simple instructions or use them as a basis to build your own board.
Ever want to use your 3D printer to create a functional mode of transportation? On today’s edition of Weekend Project, we’re featuring a gnarly idea for all the street shredders who love to roll around town on four wheels.
Aleph Objects, the company behind the 3D printer brand Lulzbot, is sharing instructions on how to build a 3D Printed Longboard. In the past, we’ve seen a number of insanely cool 3D printed skateboards created by makers like James Bruton of XRobots, who is actually fully sponsored by Lulzbot.
Now, the Colorado-based manufacturer is sharing a simple design for all to undertake. The 3D Printed Longboard is a relatively simple and well-structured project, but does require a 3D printer with a large build volume, as well as some tooling around with threaded rods.
If you’ve been looking for a 3D printing project that you can take with you all around town, hit the brakes and get ready to make. Here’s more information of Lulzbot’s 3D Printed Longboard.

3D Printed Longboard: What Do You Need?
This project is tailor-made to be used with the Lulzbot TAZ 6 3D printer. However, if you have a desktop 3D printer with a large enough build volume, you should have no trouble building your own 3D printed longboard.
Your 3D printer will need to be able to produce pieces that measure around 230 x 25 x 240 mm. Aside from the Lulzbot TAZ 6, which we recently awarded as the best large format 3D printer in 2017, this project can likely be undertaken with the Creality CR-10, among other large volume FDM 3D printers.
Here’s everything you’ll need to create the 3D Printed Longboard:
3D Printed Longboard: Putting it All Together
Believe it or not, building your own 3D printed longboard is actually not as difficult as it sounds. The Lulzbot team lays out a simple set of instructions to help get your wheels rolling.
Before you start assembling your longboard, you’ll need to 3D print the four sections of the deck. The STL files are freely available on the Lulzbot website.
Next, take the three 3/8″ threaded rods and prepare to cut them down with the proper tools, such as a vise and hacksaw. Two of the rods will be trimmed to 700 mm for the side of the deck, while the middle rod will be cut to 820 mm. Then, insert the threaded rods into the holes of 3D printed deck parts one section at a time.
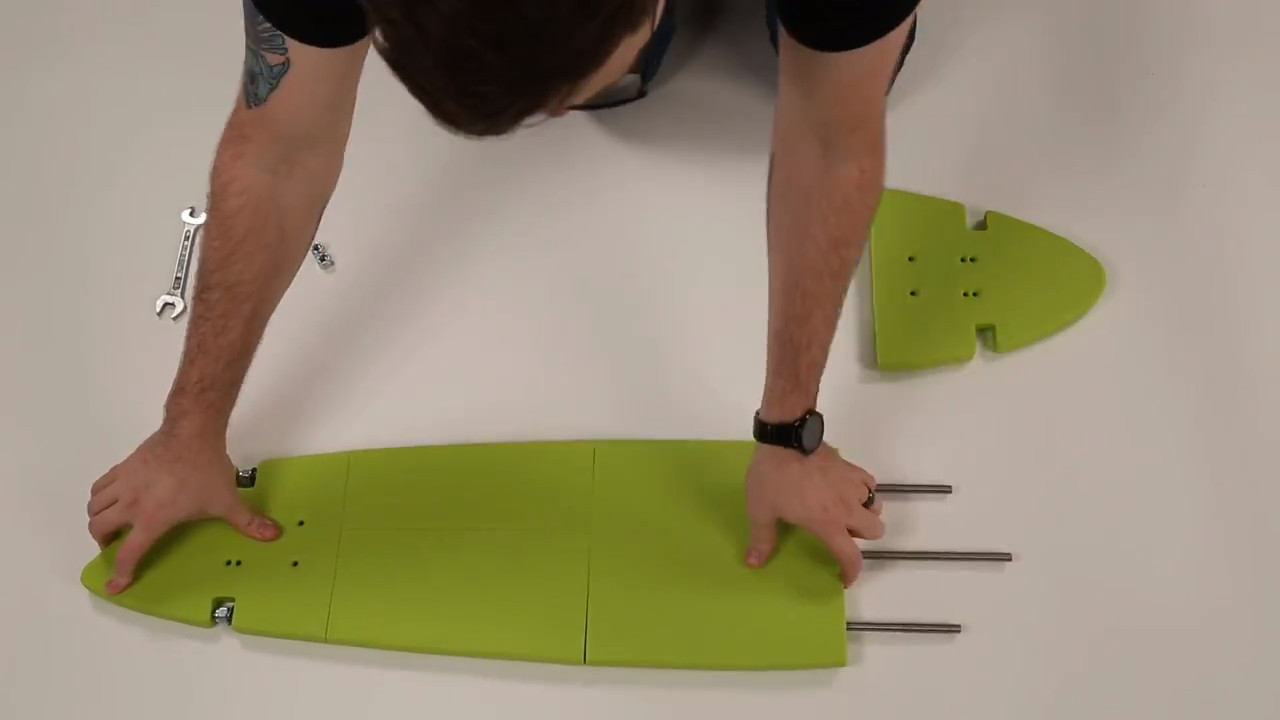

Once the threaded rods are inserted into the 3D printed deck, loosely attach the four 3/8″ nylon lock nuts and washers to the threaded rods. By slowly tightening the nuts with a wrench, you’ll notice the sections begin to constrict together. According to the Lulzbot team, this step will be easier to complete if you have an assistant to hold the other end of the longboard.
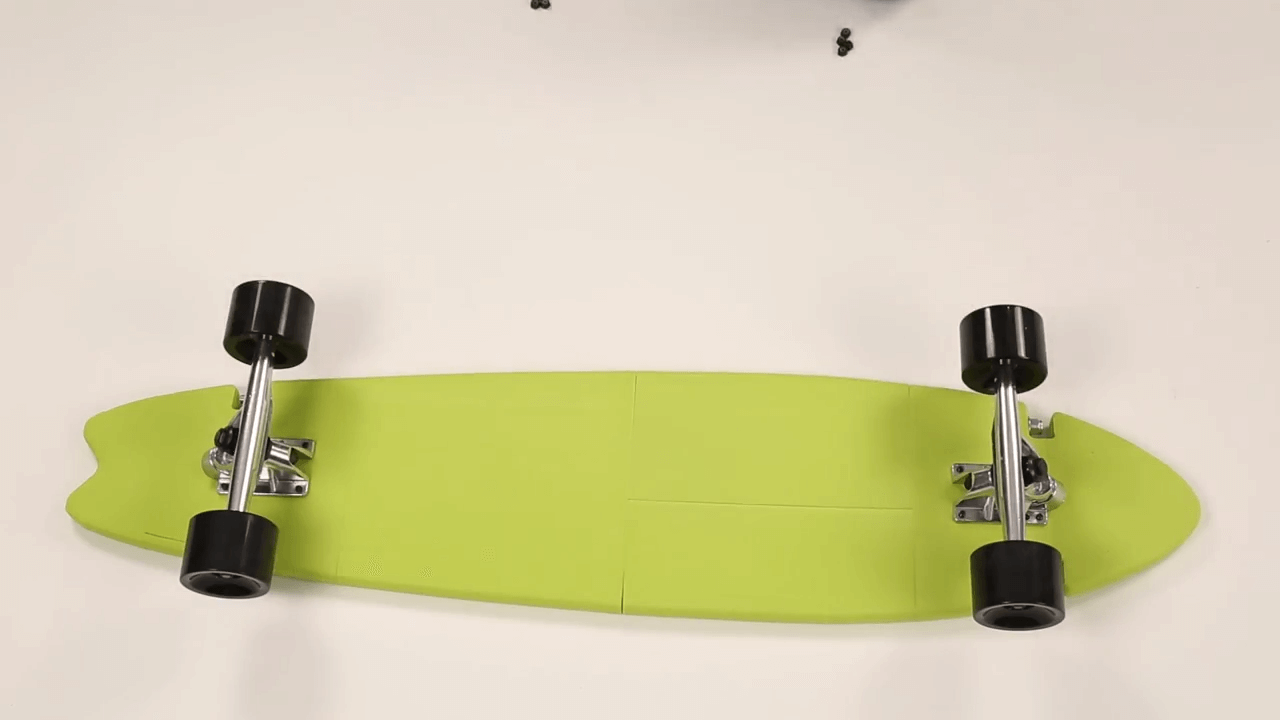
Lastly, it’s time to mount the wheels and trucks with skateboard truck mounting hardware. After this final step, you should be left with functional 3D printed longboard. Have fun shredding your neighborhood streets and remember, always wear a helmet!
You can learn more about the 3D Printed Longboard project on the Lulzbot website.
Website: LINK
Schreibe einen Kommentar
Du musst angemeldet sein, um einen Kommentar abzugeben.