The Raspberry Pi 3 NES Classic Mini Project was in our mind from day one when the new New Classic Mini arrived 🙂
After so much time there is a company from new york making small pi cases looking like this:
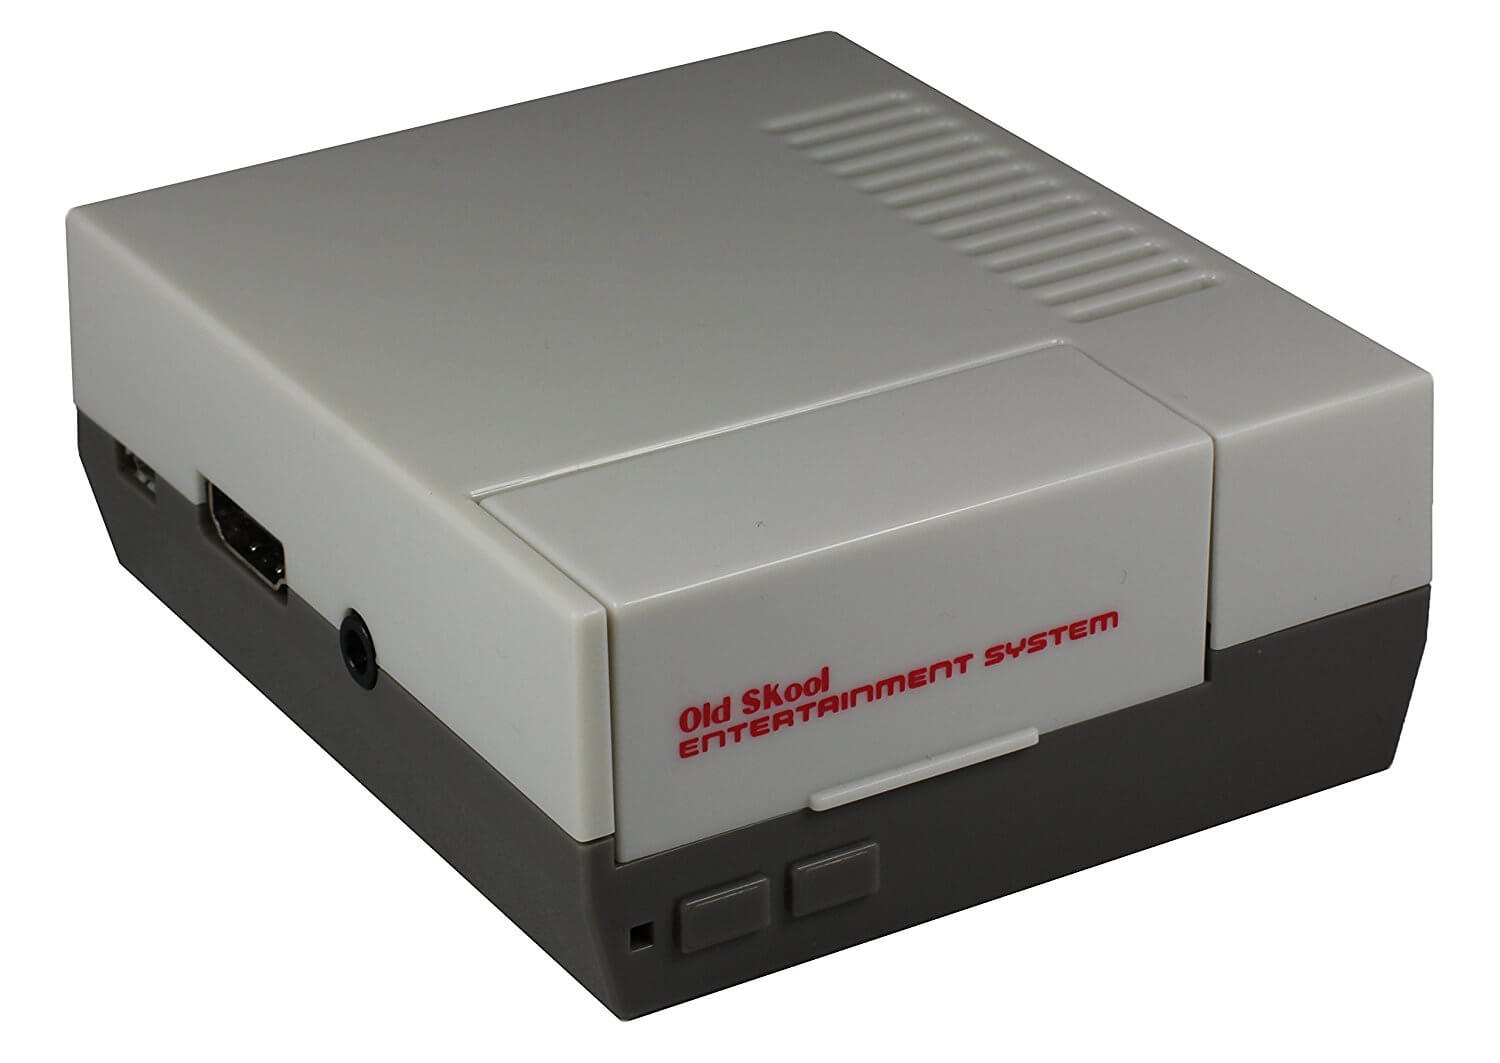
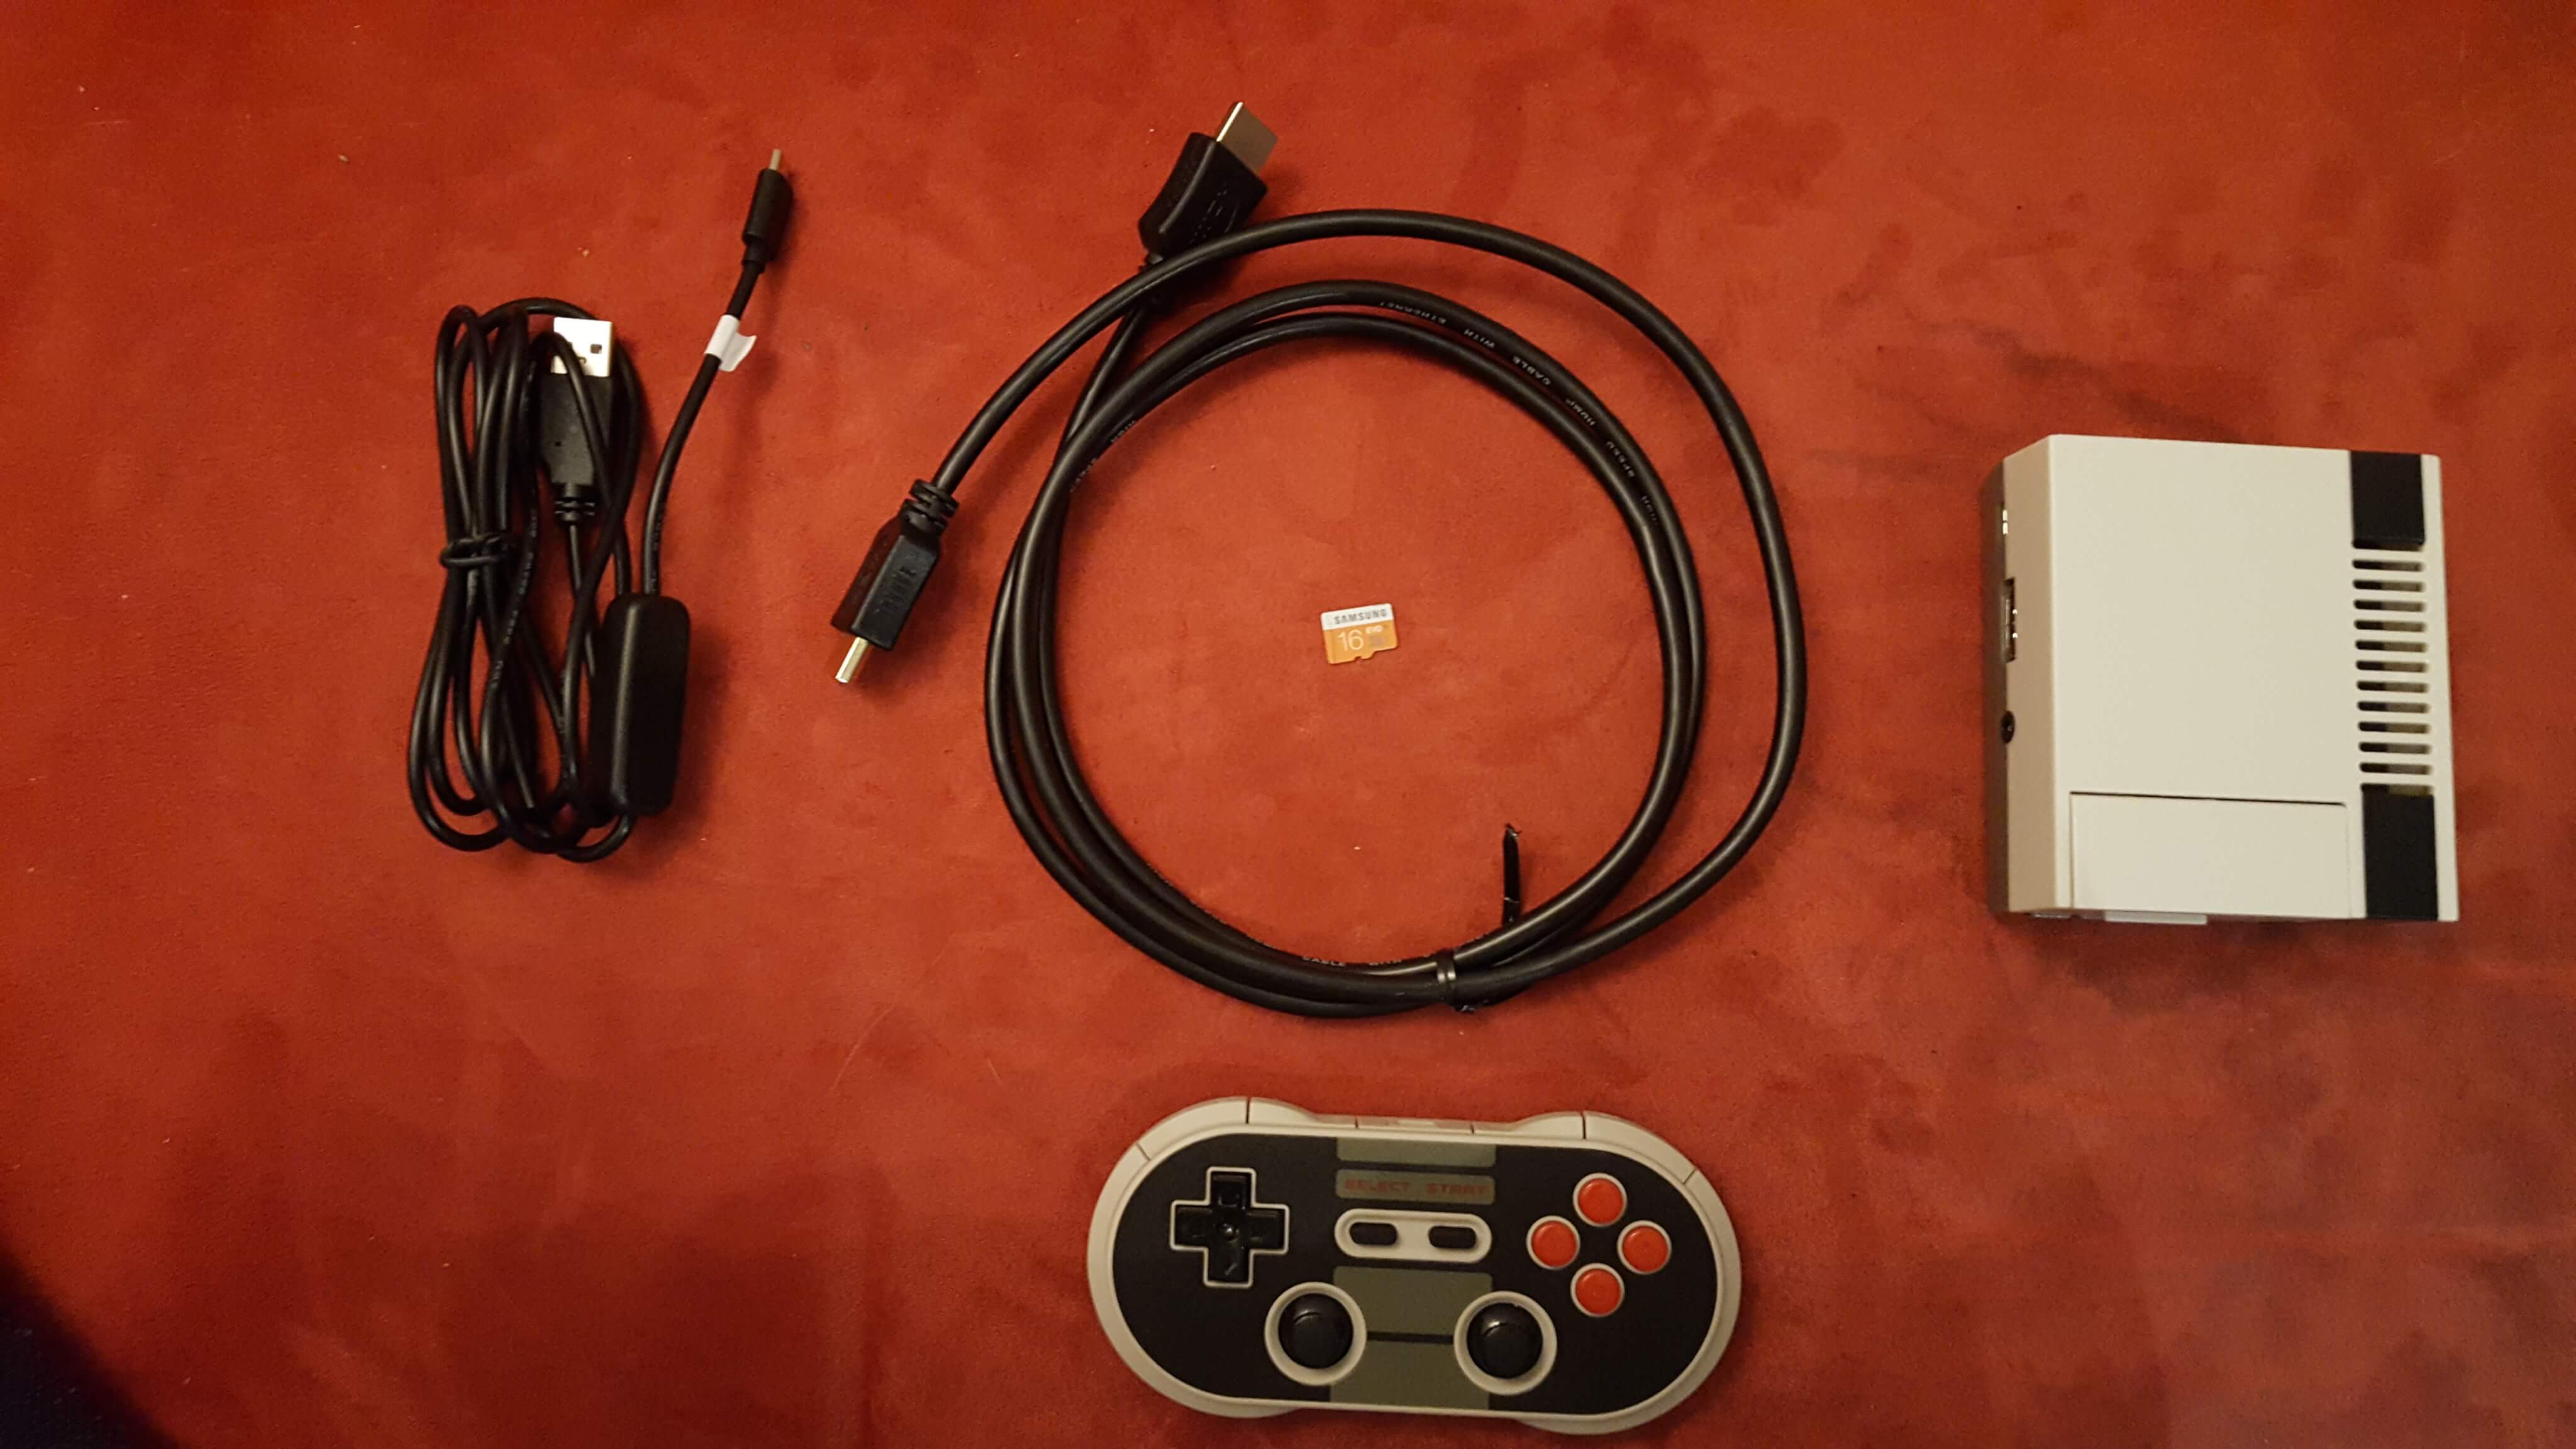
Perfect case for our project , so here is the full list what you need:
- Raspberry Pi 3
- 16GB MicroSD Card
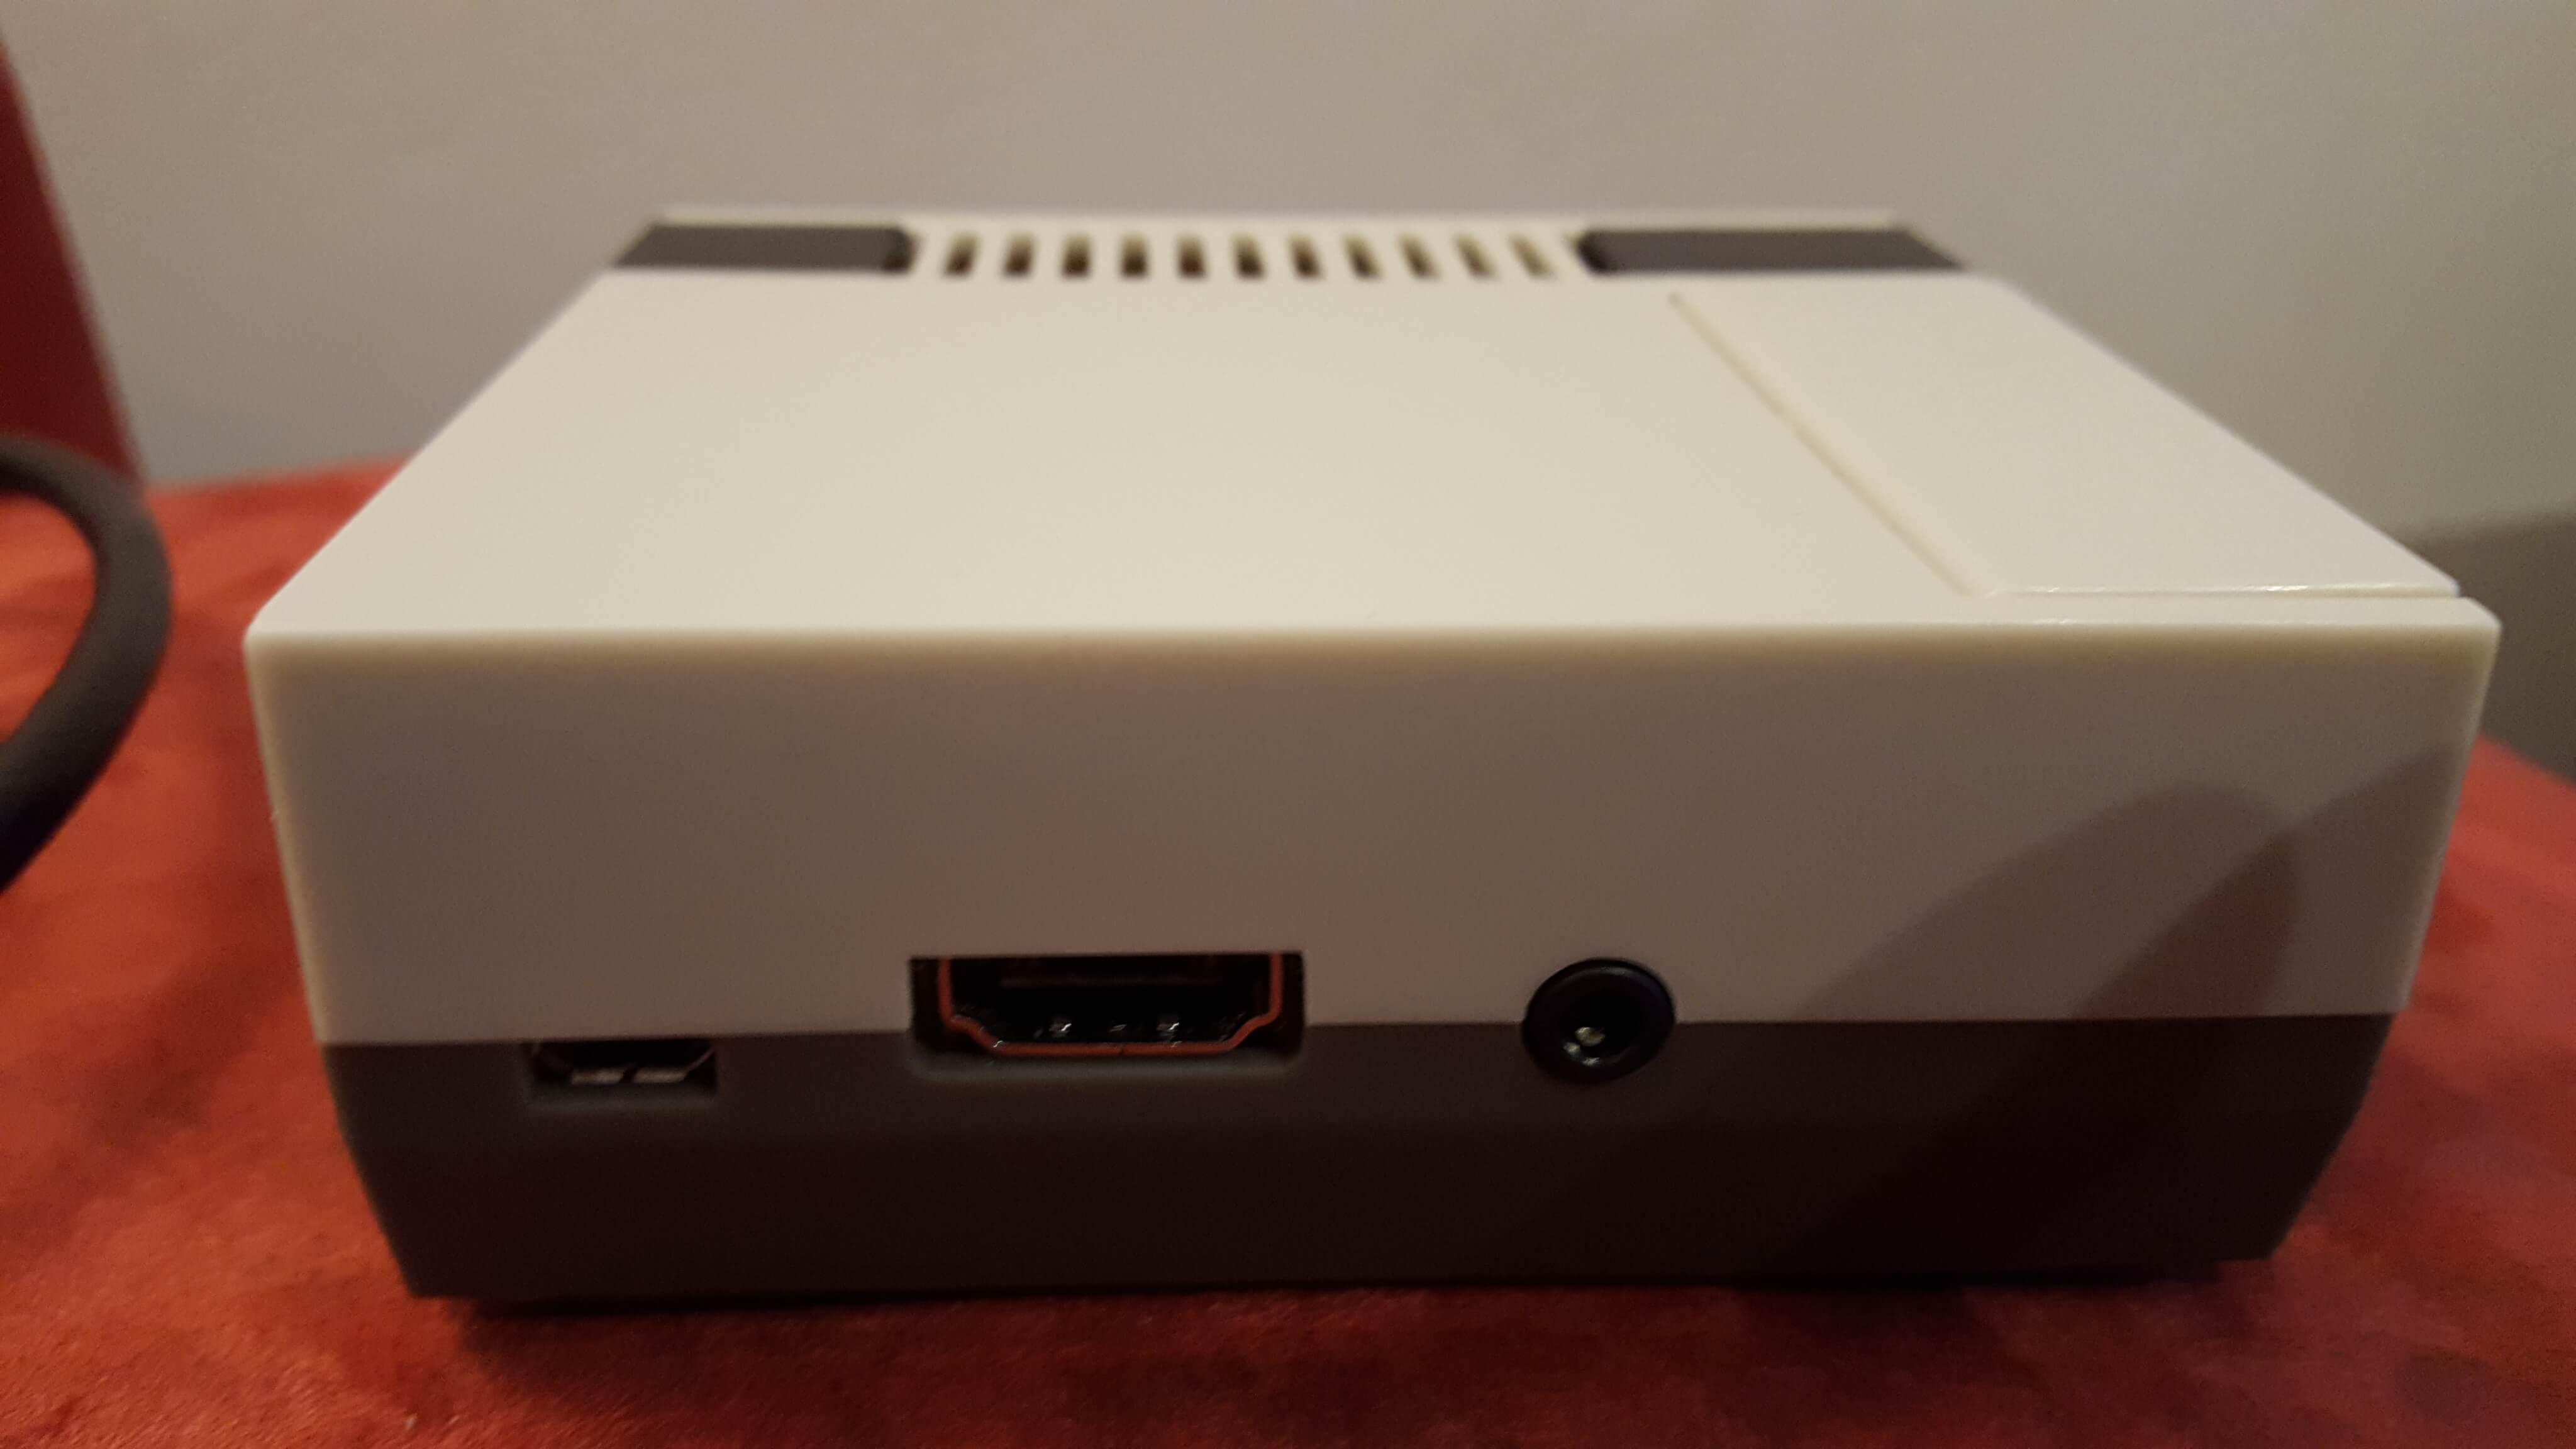
- HDMI Cable
- NES case for Raspberry Pi 3,2 and B+ by Old Skool Tools
- Power Cord with Switch by renkforce
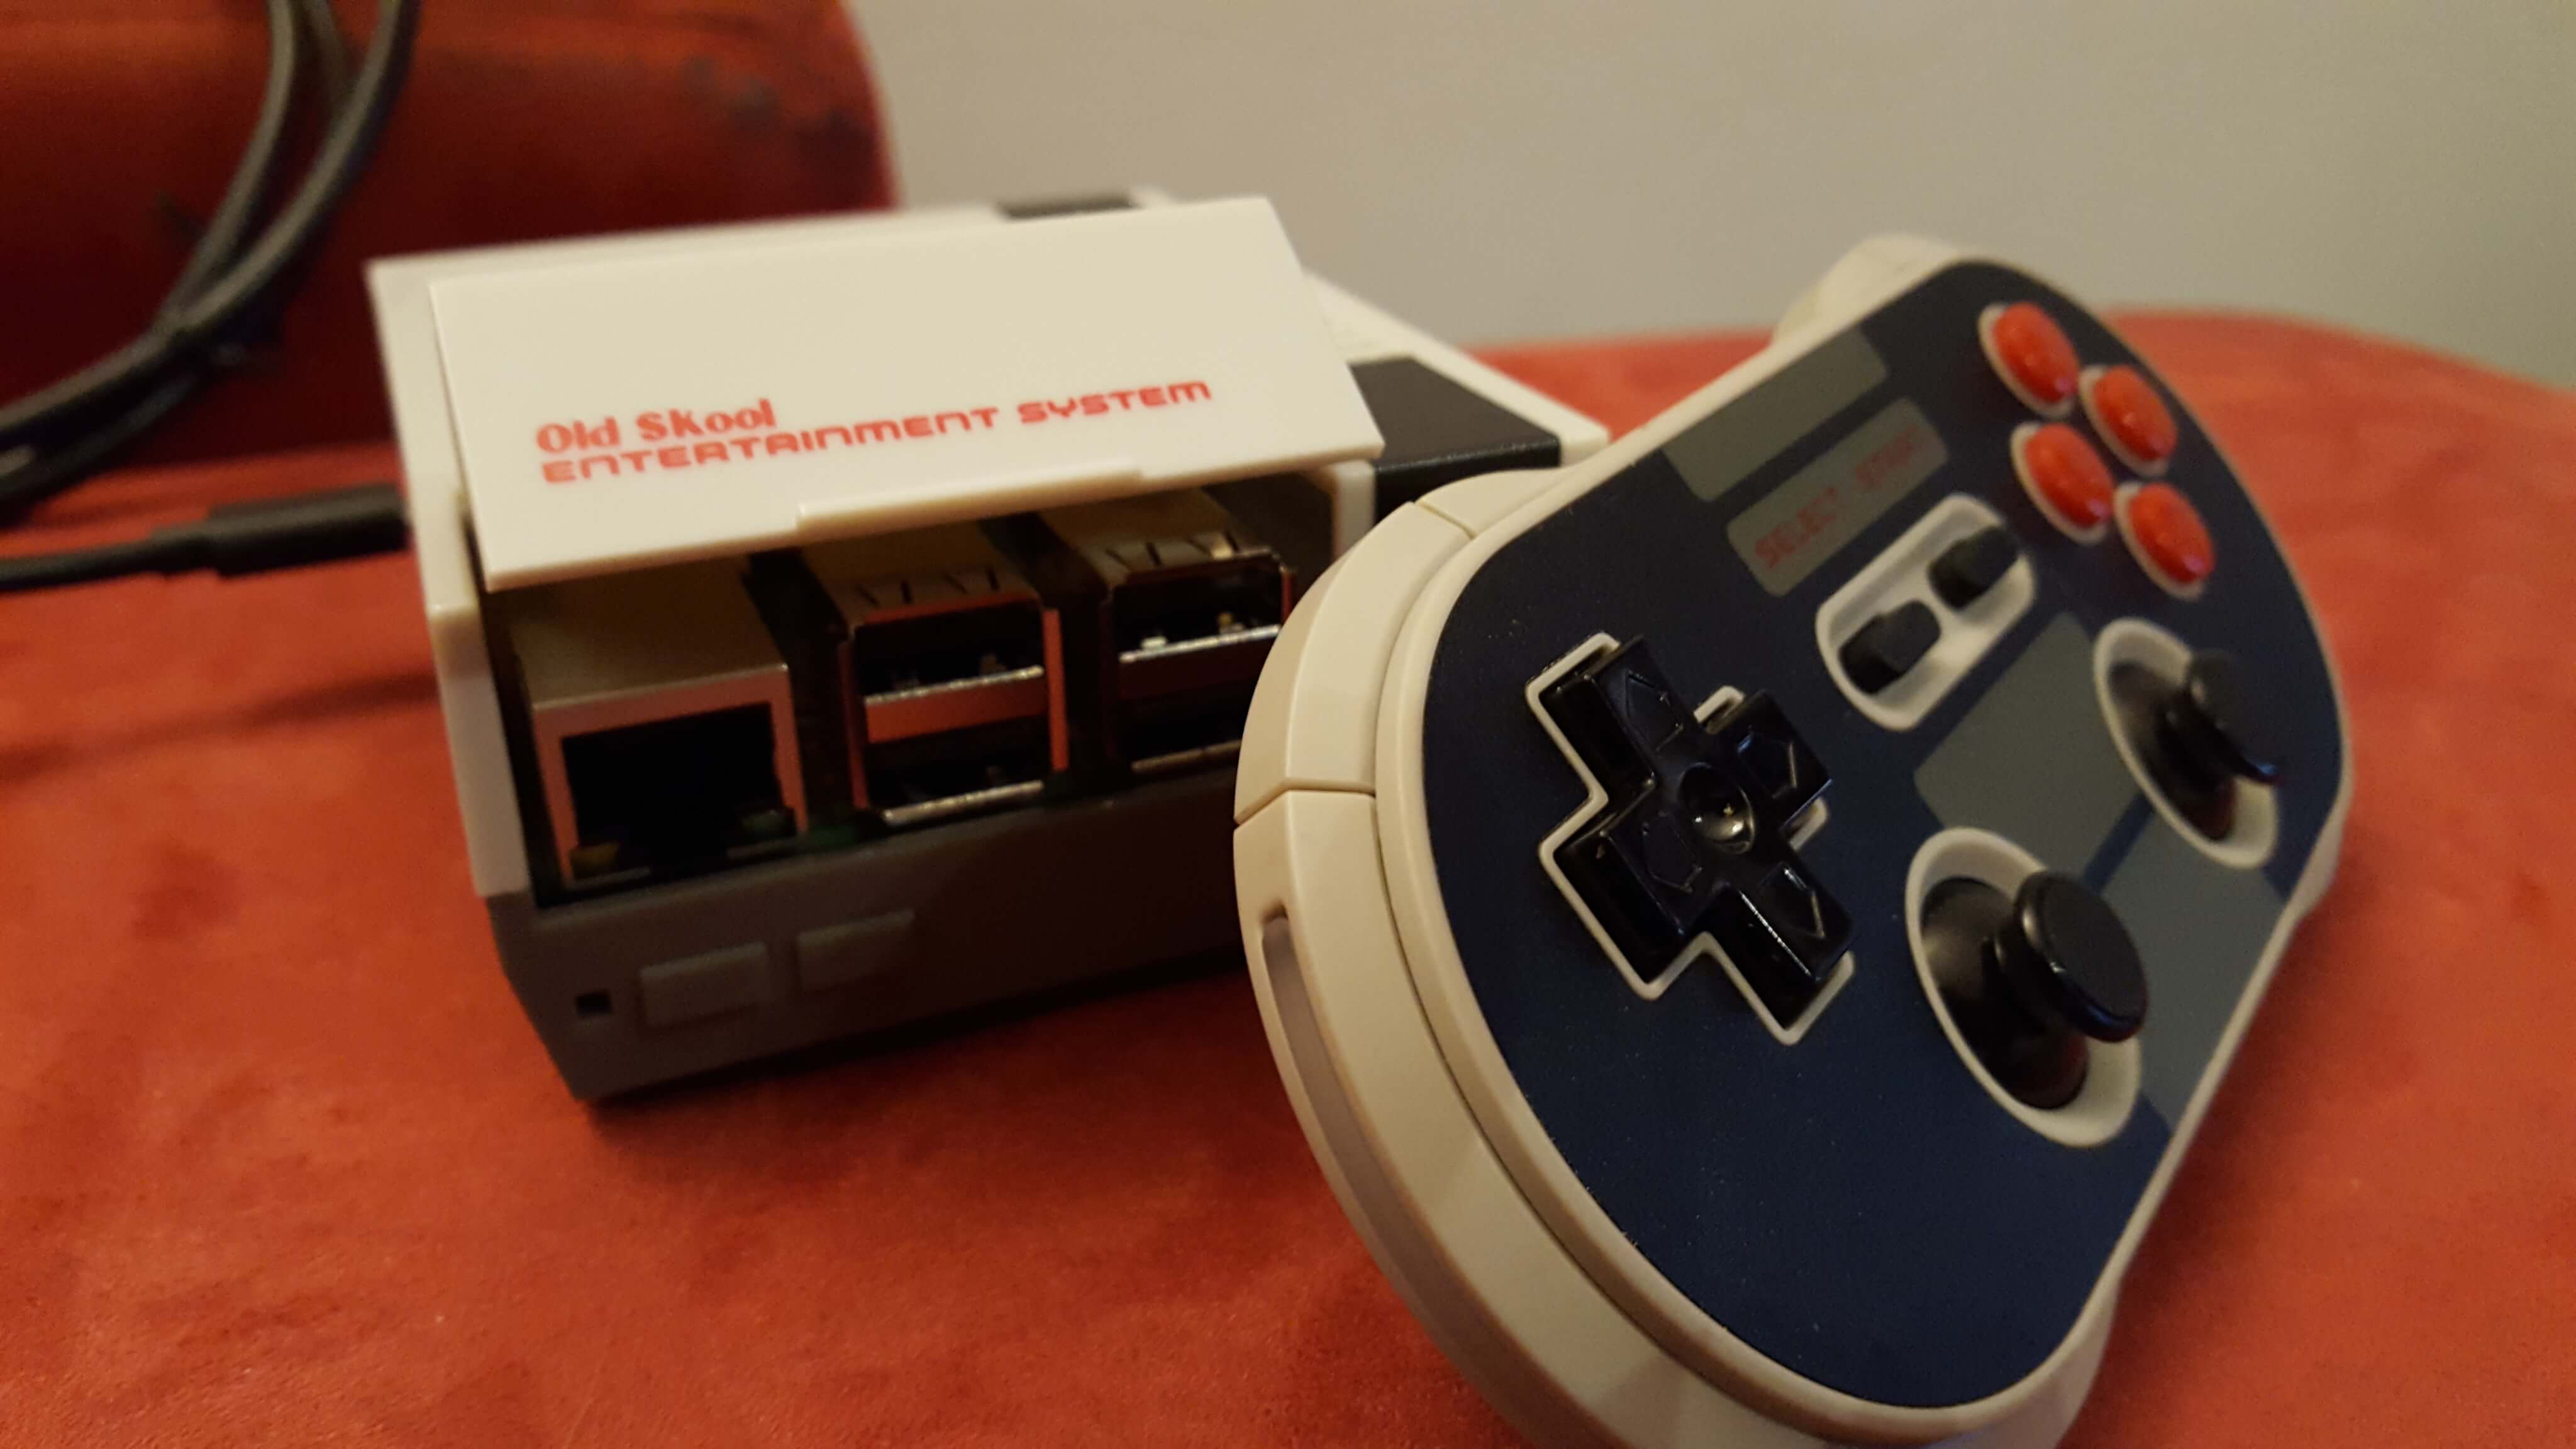
- Nes30 Pro Controller by 8bitdo
- BLACK DUCKTAPE!!! The most important , trust us 🙂 😉
Optional:
- NES Classic Controller USB Cord
- Original NES Classic Mini Controller
- Nes30 Pro Controller Famicom Design
- Power Supply with USB Cord
Setting up the Raspberry Pi + Case Assembly
We got this nice PDF Document from oldskool.tools that shows very nice how to assemble the case right.
Here is the Download Old Skool Tools Setup Tutorial
Needs:
- Controller
- HDMI/DVI monitor or TV
- HDMI cable
- Laptop or PC with SD port
- Micro SD card
- Raspberry Pi case + Raspberry Pi
- USB Keyboard
- USB micro power supply (preferably the official Raspberry Pi power supply)
Downloads:
- Extraction program (for example, 7-Zip)
- RetroPie image( For this setup we use version 4.2)
- Win32DiskImager (Windows) / ApplePi-Baker(Mac)
SETUP
- Insert your SD card in the SD card slot of your laptop or PC
(Note the drive letter assigned to the SD card, for example G:) - Unzip the downloaded RetroPie project SD card image with an extraction program
- Extract the RetroPie project SD card image to the SD card. Be careful to select the correct drive
(Win32DiskImager for Windows and ApplePi-Baker for Mac) - Remove the SD card from your laptop or PC
- Insert the SD card, one of your controllers and your keyboard into the Raspberry Pi
- Plug in the HDMI cable then plug in the power supply. This will boot up your Raspberry Pi
- Follow the onscreen prompts with your controller to set it up (up, down, left, right, etc)
Done!
RetroPie doesn’t show the emulators that don’t have ROMs installed, so don’t worry when you notice that only a small number of emulators are available. This is how it’s supposed to work. The other emulators will show up as you add ROMs. Make sure to download some ROMs and we’ll show you how to transfer them to your Raspberry Pi.
TRANSFER ROMS
TRANSFERRING ROMS TO RETROPIE
You are almost ready to begin your journey back in time. Now that you’ve dealt with the setup of RetroPie, it’s time to transfer your favorite games to your Raspberry Pi. There are multiple ways to transfer your ROMs to your Raspberry Pi, but we’re going to show you two methods:
– Transferring ROMs via a USB stick
– Transferring ROMs via SCP
USB METHOD
Needs:
- USB stick (formatted to FAT32)
- Raspberry Pi (powered on)
- USB keyboard
Setup:
- Insert the USB stick in your computer
- Make sure that your USB is formatted to FAT32
- Create a folder called retropie on your USB stick
- Remove the USB stick from your computer
- Plug your USB stick in your Raspberry Pi and wait for your USB stick to stop blinking (If your USB doesn’t have a light just wait 5 minutes to be sure)
- Take your USB stick out of your Raspberry Pi and plug it into your computer
- Add the ROMs to their respective folders (in the retropie/roms folder on your USB stick)
- Plug your USB stick back into your Raspberry Pi
- Wait for your USB stick to stop blinking then remove your USB from your Raspberry Pi
- Refresh emulationstation by pressing F4, or choosing quit from the start menu
SCP METHOD
Needs:
- Ethernet cable (wired)
- Raspberry Pi > = 3 or Raspberry Pi < = 2 with a WiFi dongle (wireless)
- USB keyboard
Downloads:
Setup:
- Open WinSCP or Cyberduck
- Setup the following
File Protocol: SCP
Host name: the IP address of your RetroPie.
(To find the IP address of your RetroPie, go into RetroPie options from the main menu, and select the last option [ Show IP address ] )
Username: pi
Password: raspberry - Drop the files in the ~/RetroPie/roms/$CONSOLE folder, where $CONSOLE is the name of the target console (e.g. snes or arcade)
After Setting Up your Retro Console the next thing to do and last thing is the black ducktape, for the true NES design 😉
Here are some Photos of ours finished , with controllers and all you need:
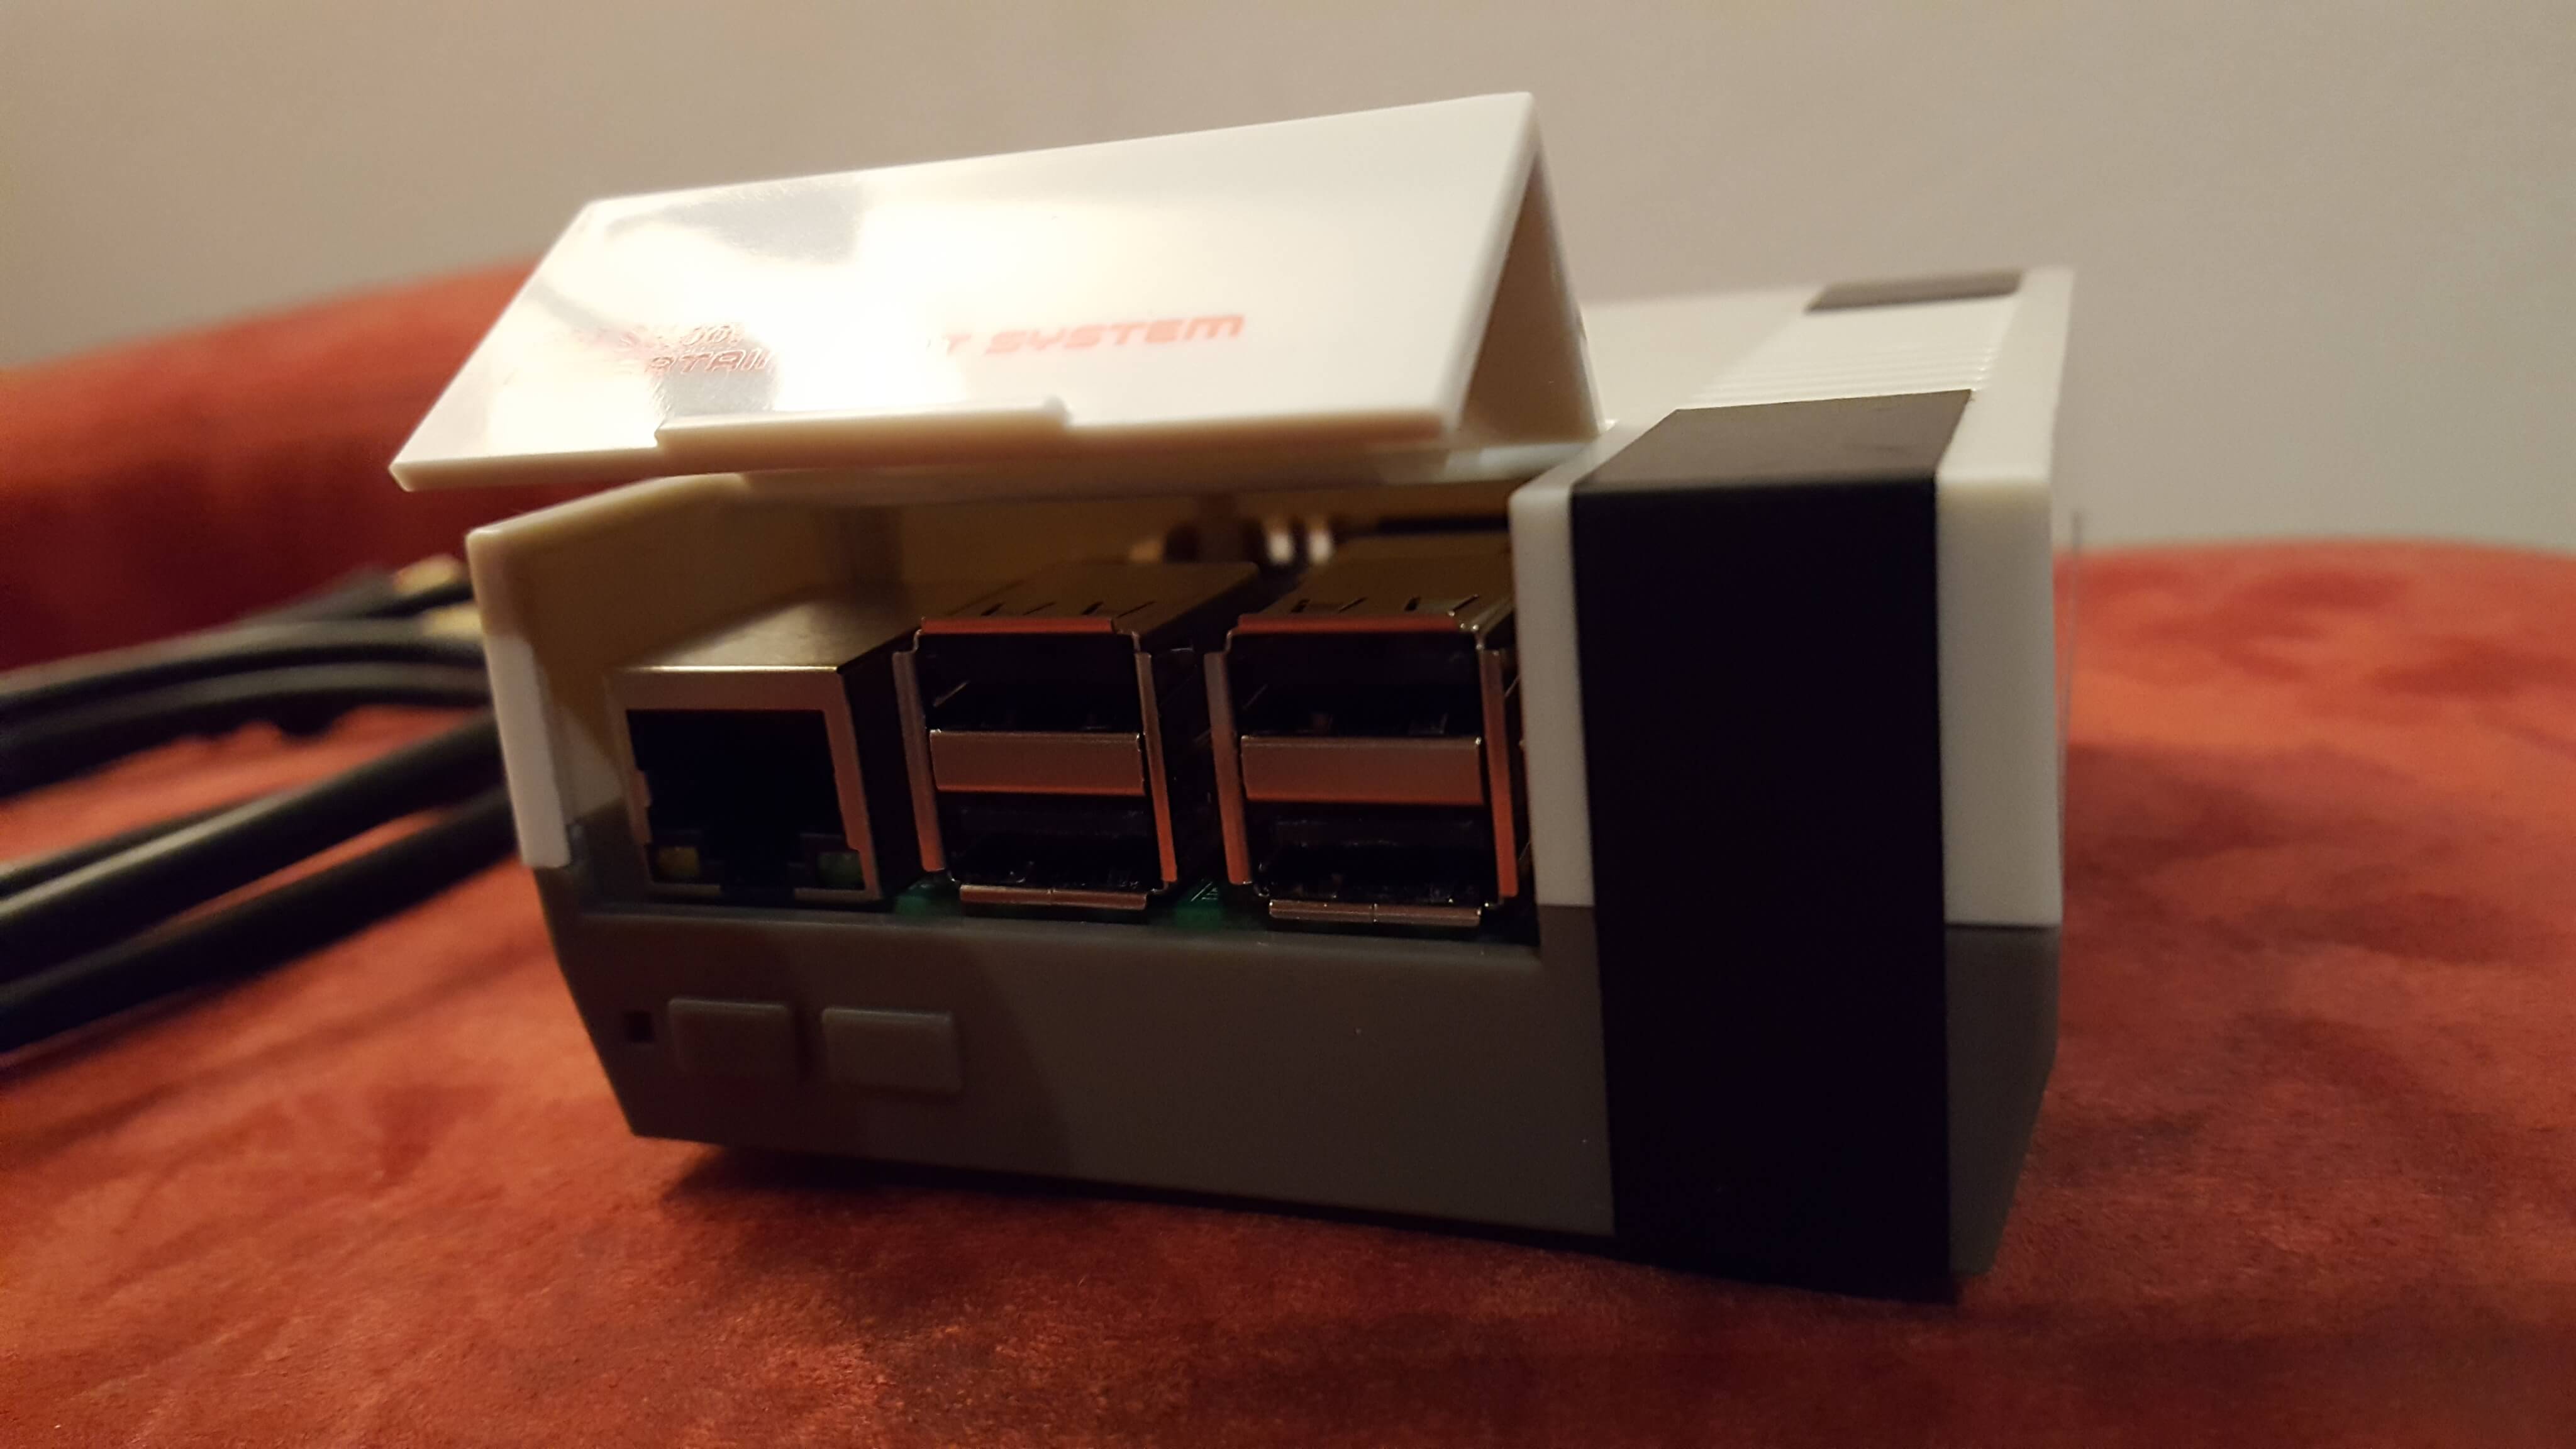
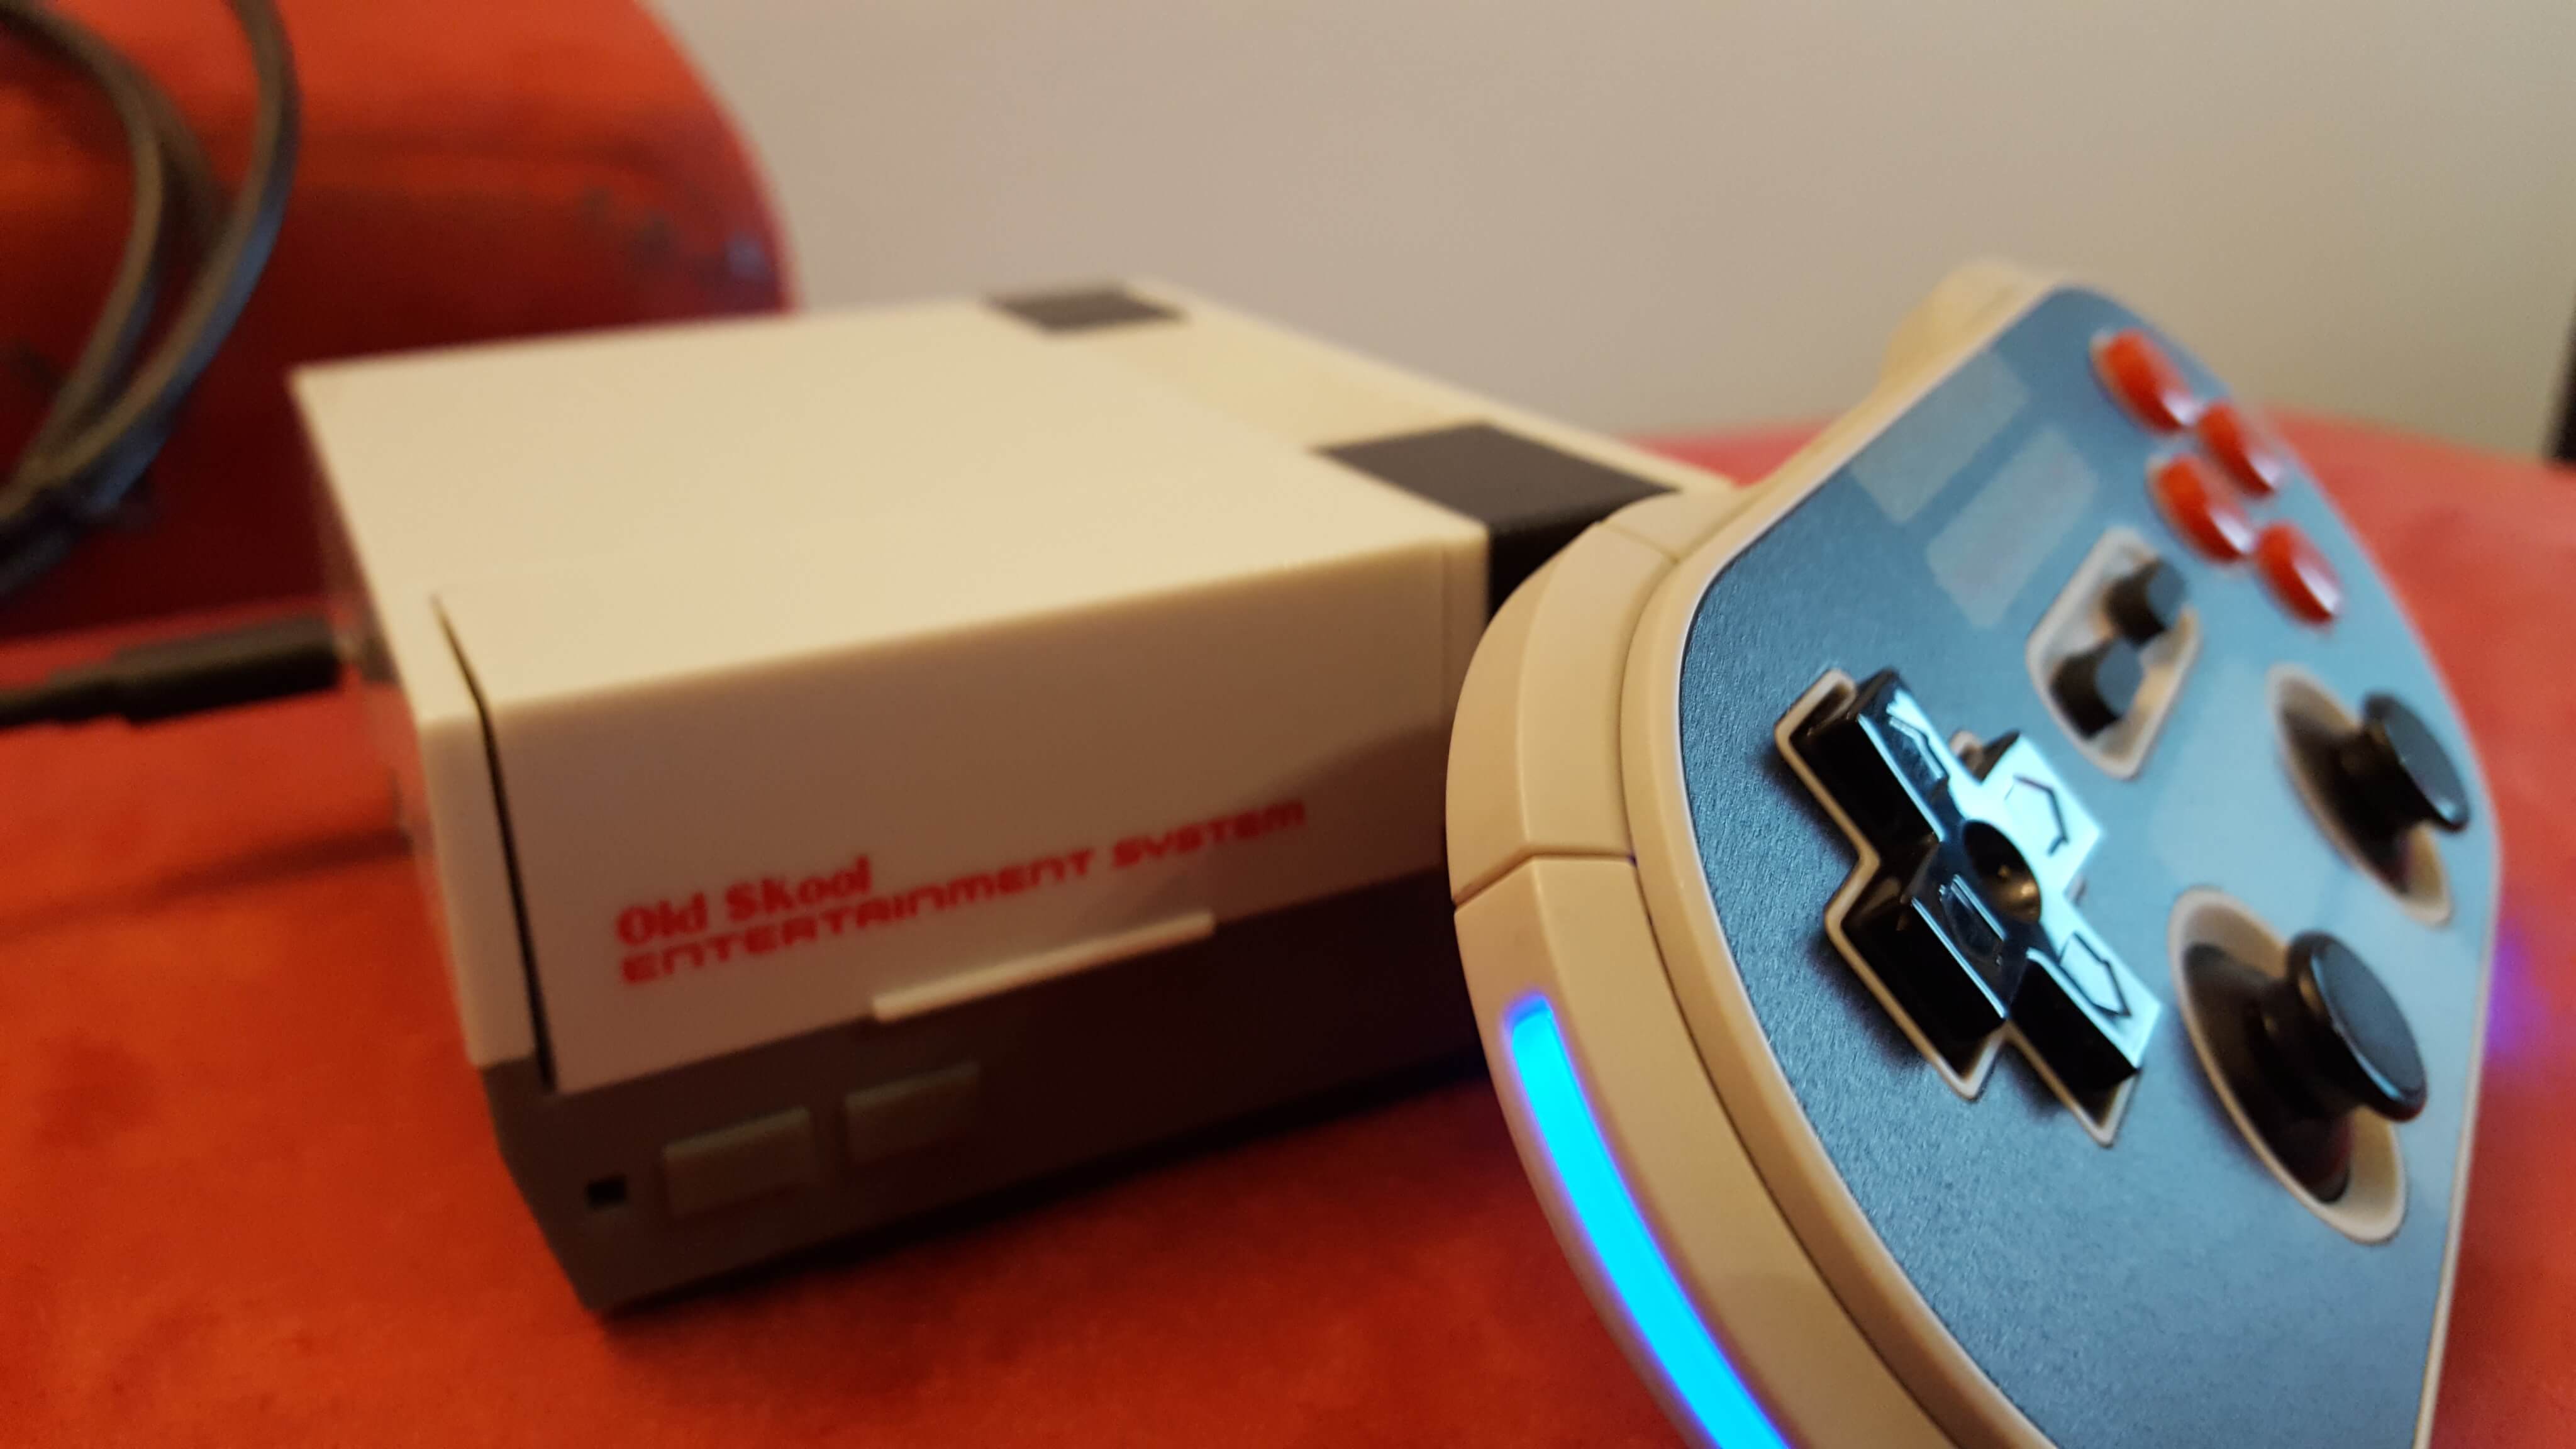

And now you know what the black tape is good for ^^
We hope you liked our small and quick project, follow our other channels. Thank you for reading.
Sources: http://www.8bitdo.com/