Tired of using the same old plastic LEDs in your projects? It’s time to grab a hot glue gun and some confectionary moulds to create your own custom LEDs!
Blinky LEDs!
Lighting up an LED is the standard first step into the world of digital making with a Raspberry Pi. For example, at our two-day Picademy training events, budding Raspberry Pi Certified Educators are shown the ropes of classroom digital making by learning how to connect an LED to a Pi and use code to make it blink.
Anastasia Hanneken on Twitter
Blinking LED Light @Raspberry_Pi #picademy! https://t.co/zhTODYsBxp
And while LEDs come in various sizes, they’re all pretty much the same shape: small, coloured domes of plastic with pointy legs that always manage to draw blood when I grab them from the depths of my maker drawer.
So why not do away with the boring and make some new LEDs based on your favourite characters and shapes?
Making custom LEDs with a whole lotta hot glue
The process of creating your own custom LEDs is pretty simple, but it’s not without its risk — namely, burnt fingertips and sizzled LEDs! So be careful when making these, and supervise young children throughout the process.
The moulds
I used flexible ice cube trays, but you could also use chocolate moulds. As long as the mould is flexible, this should work — I haven’t tried hard plastic moulds, so I can’t make any promises for those. Also be sure to test whether your mould will withstand the heat of the hot glue!
Check your LEDs
Before you submerge your LEDs in hot glue, check to make sure they work. The easiest way to do this is to set up a testing station using a Pi, a breadboard, some jumper wires, and a resistor. To save having to write code, I used the 3V3 pin and a ground pin.
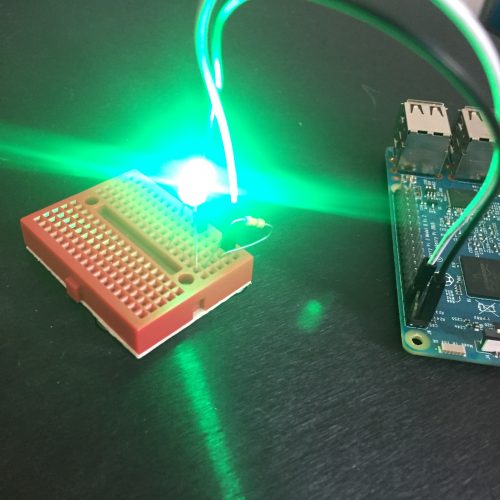
Remember, the shorter of the two legs connects to the ground pin, while the longer goes to 3V3. If you mix this up, you may end up with a fried LED like this poor LEGO man.
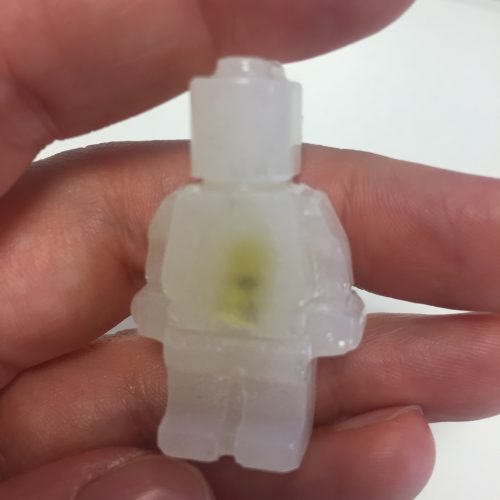
Everything isn’t awesome.
Once you’ve confirmed that your LED works, bend its legs to make it easier to insert it into the glue.
Glue
Next, grab a hot glue gun and fill a mould. The glue will take a while to cool, so you have some time to make sure that all nooks and crannies are filled before you insert an LED.
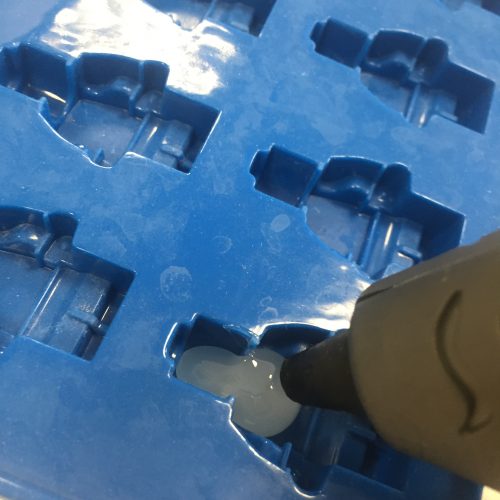
Tip: test a corner of your mould with the tip of your glue gun to check how heat-resistant it is. One of my moulds didn’t enjoy heat and began to bubble.
Once your mould is properly filled, push an LED into the glue, holding on to the legs to keep your fingertips safe. Have a wiggle around to find the bottom and sides of your mould and ensure that your LED is in the centre.
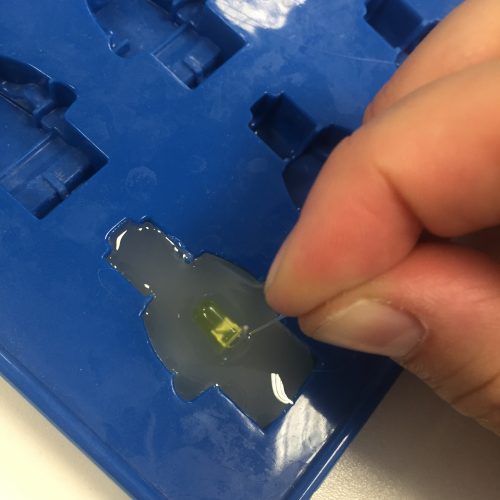
Pick a colour best suited to your mould. You could try using multiple LEDs on larger moulds to introduce more colours!
You may notice that the LED tries to sink a little and the legs begin to drop. Keep an eye out and adjust them if you need to. They’ll stop moving once the glue begins to set.
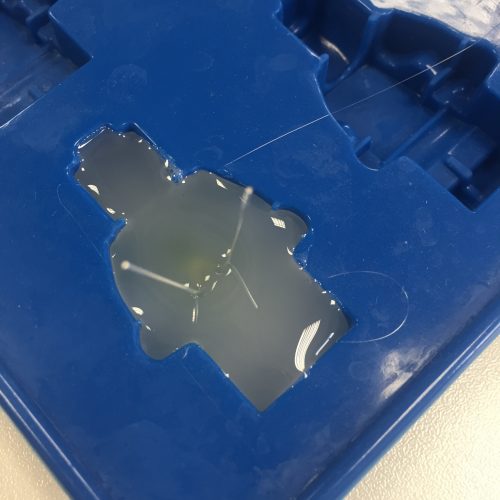
These took about ten minutes to cool down.
Be patient
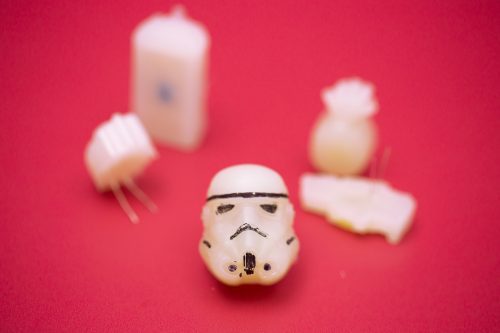
Don’t rush. The hot glue will take time to cool down, especially if you’re using a larger mould like the one for this Stormtrooper helmet.
Here I used a gumdrop LED, which is larger than your standard maker kit LED.
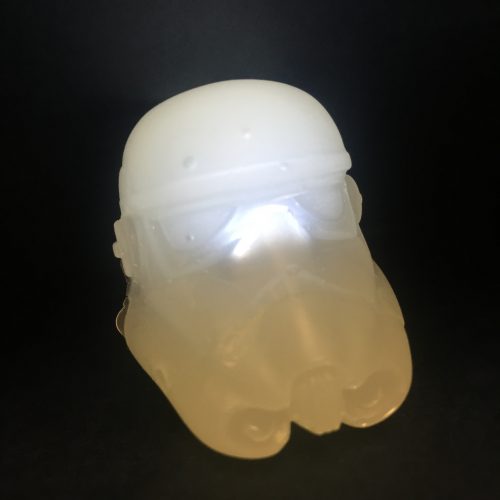
You’ll know that the glue has set when the shape pulls away easily from the mould. It should just pop out when its ready.

Pop!
Light it up
Test your new custom LED one more time on your testing rig to ensure you haven’t damaged the connections.
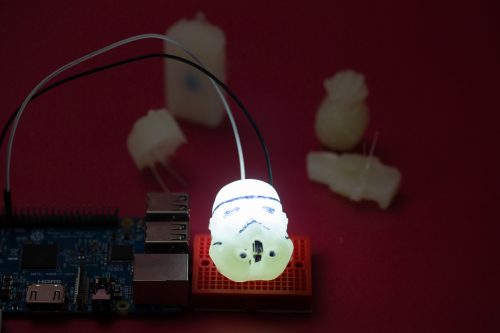
As with all LEDs, they look better in the dark (and terrible when you try to take a photo of them), so try testing them in a dim room or at night. You could also use a box to create a small testing lab if you’re planning to make a lot of these.
Now it’s your turn
What custom LED would you want to make? How would you use it in your next project? And what other fun hacks have you used to augment tech for your builds?
Website: LINK