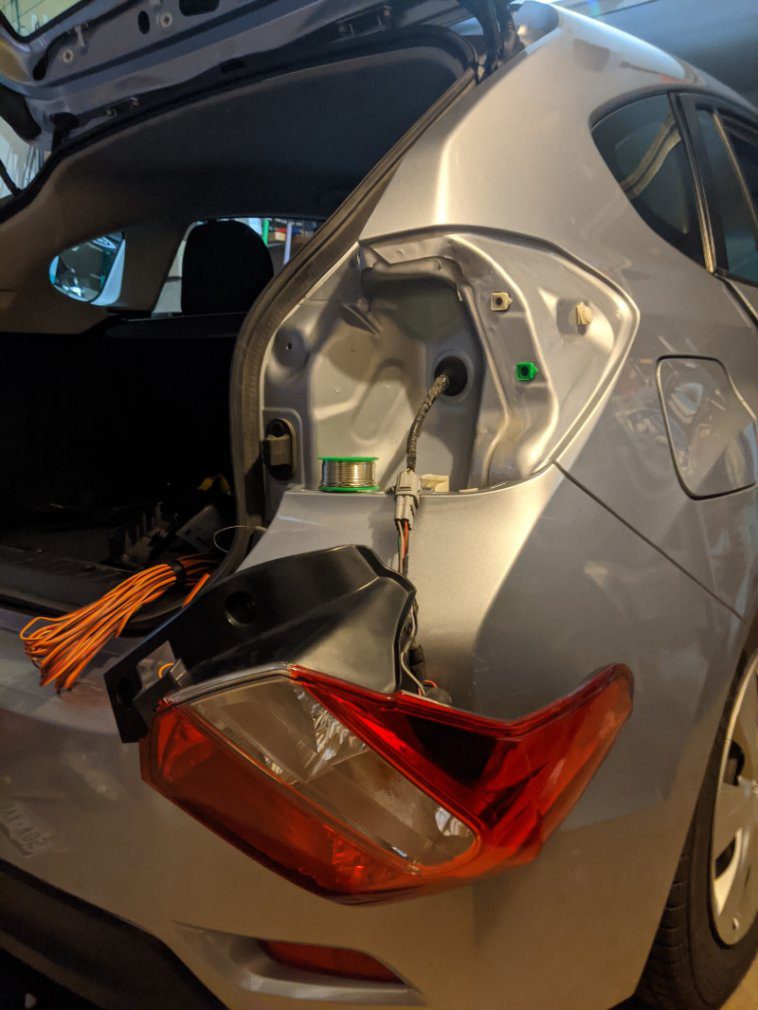
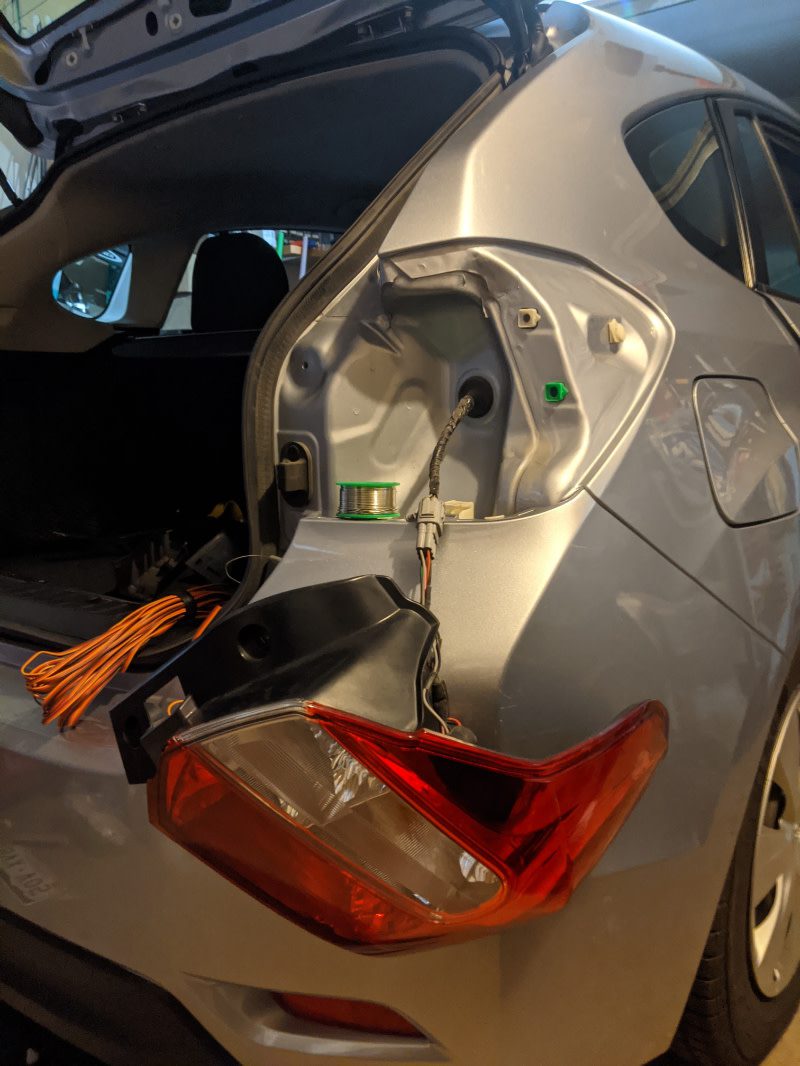
“My eyes lack depth perception, so I really wanted a backup camera for safety,” he explains. Off-the-shelf options were expensive, so he decided to put his engineering skills to the test. The parts ended up costing him “a fraction” of a readymade product.
Powering ahead
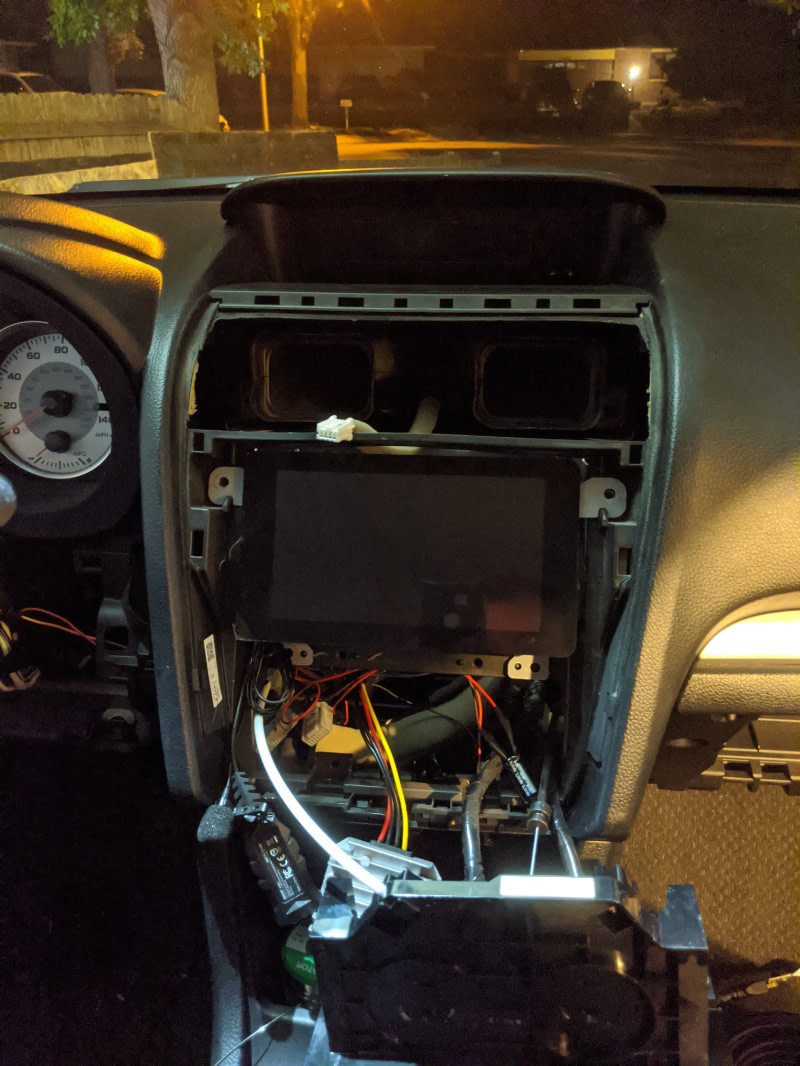
Originally, he wanted a backup camera and a large screen to display the camera view, much like the home security setup he’d created previously to keep an eye on his house while he was on holiday. He chose a Raspberry Pi 4 as the basis since he knew that model well and it offers good camera support. “The low cost was a major advantage, as well as being able to replace my plain old radio with a big, beautiful 7-inch touchscreen,” he says.
Levi then discovered a company called Blue Wave, which makes open-source head unit software for Raspberry Pi called OpenAuto. “I flashed my Raspberry Pi with their OS. [This provided] a graphical interface and a full suite of apps and other features you would commonly find in many stock infotainment systems, including Android Auto,” he says.
Powering it was to prove a challenge as the 12V connections in his car didn’t match that of Raspberry Pi. He used a 12 to 5 volt buck converter to step-down the power supply to Raspberry Pi, though on the first attempt he got his wires mixed up, destroying his Raspberry Pi. To prevent the microSD card corrupting when the power was switched off, Levi cleverly tapped into the ignition wire behind the car dashboard then soldered a PC817 opto-coupler between it and Raspberry Pi.
“I used a Python script I found online that told Raspberry Pi to look for a falling edge on the opto-coupler,” he reveals. “When you turn off the ignition, the opto-coupler instructs Raspberry Pi to run a shutdown script, ensuring a safe power-off.”
Looking back
For others wanting to tackle such a project, Levi warns that the electrical work involved is quite challenging. “You’re splicing into electrical harnesses in your car, building voltage dividers, and doing a lot of stuff to your car that wasn’t meant to be done, so you have to be careful and know what you’re doing so you don’t damage things.”
But it’s fair to say he’s pleased with how his project turned out: “Nothing makes an old car feel like new like a giant touchscreen in the dash,” he beams.


