
The Nintendo Switch games console is an undeniable success. But, retailing for a few hundred dollars, its does require a significant chunk of change. Why not build your own for a fraction of the cost instead? Here’s how (disclaimer: the PiSwitch will not play Nintendo Switch games).
Home hackable gaming has never been more alive, with the likes of RetroPie allowing tech savvy gamers to experience classics from their past on low-cost hardware for relatively little effort.
Looking to shoehorn this rich seam of fun-filled nostalgia into a contemporary frame, maker Christopher Foote has 3D printed a RetroPie housing that accepts official Nintendo Joy-Con controllers. The end result is a handheld games console that looks like a Nintendo Switch, but plays decades old games.
Foote calls his device the PiSwitch, and has made all of the parts, processes and instructions available online. Scroll past the jump for a deeper dive and make your own!
3D Printed PiSwitch — Looks Like a Switch, Plays Like a RetroPie: What do You Need?
Building a PiSwitch console is a little more involved that your typical printable project, requiring some soldering skills and bundles of patience. Here’s the full parts list:
Building a 3D Printed PiSwitch RetroPie Games Console

Foote details the building of the PiSwitch across seven stages (part one being the procurement of the parts). Little of it is particularly difficult, but steady hands are a must as many steps require soldering.
First up is to solder lengths of wire between the Raspberry Pi 3 and audio jack. And then following this, it’s time to wire up the power board and switch.
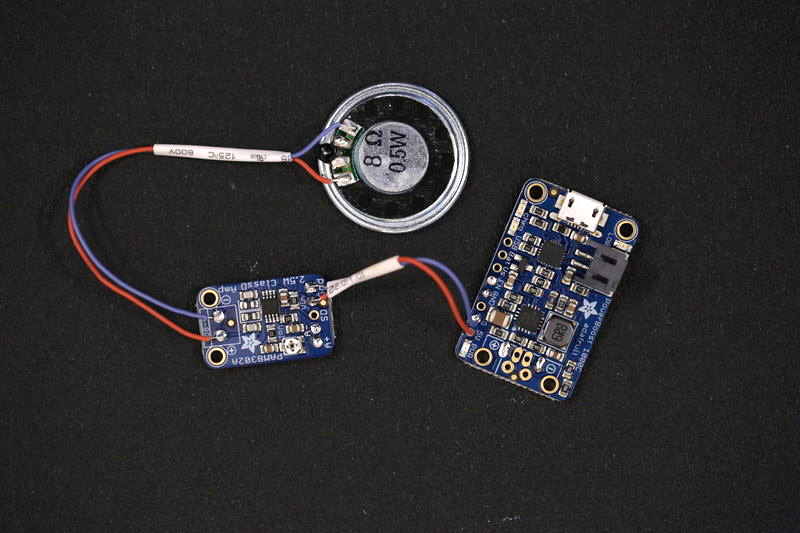
The project includes a PowerBoost 1000C which enables the charging of the PiSwitch’s battery (to current spec giving 2-3 hours run time). Some trimming of legs on the power switch is required, before further wiring between it and the PowerBoost.
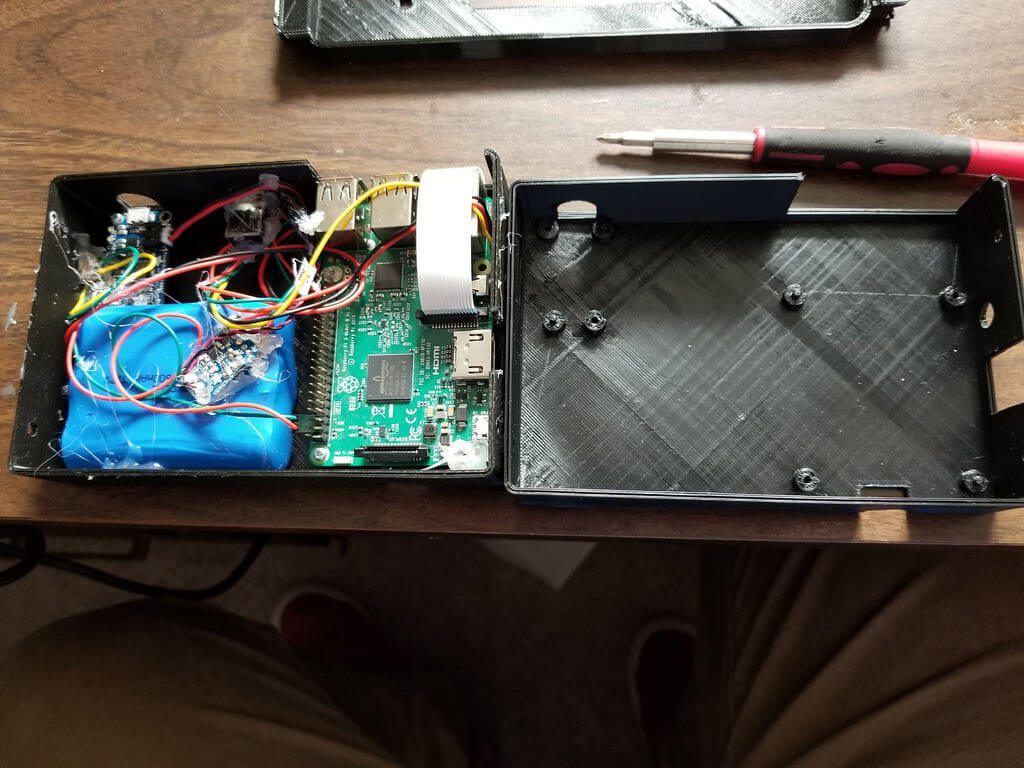
Next up is to bring together the aforementioned pieces, plus the speaker and audio board, again with short lengths of wire. Foote details in his build guide the necessary arrangement. It’s at this point that the exposed PiSwitch can be hooked up to a battery to test all is well and working — an LED on the Pi should light up.

If the board lights up, then you’re good to continue. At each step of the build Foote recommends hot gluing the freshly soldered connections to secure them and eliminate shorts. In our opinion it makes sense to do this only after you’ve checked everything is working and know no re-soldering is required.
After 3D printing the case parts, assembly should be a simple case of arranging the boards to align with their corresponding port holes. They can be fixed in place with the various laptop screws Foote recommends in his parts list. The design of the PiSwitch case doesn’t accommodate a hole for the headphone jack as is, so one will need to be drilled — between the Raspberry Pi 3 and PowerBoost.
The penultimate stage of the PiSwitch build is to attach the screen, which Foote cautions against accidentally placing upside down in his guide. When correctly oriented, the screen will line up with the case.
Finally, the last step to Switch-sized RetroPie goodness is to build the Pi software image. Before following Foote’s instructions specific to this project, you’ll need to visit the RetroPie GitHub and follow the installation instructions there.
With that done, you can then follow along and set up the Joy-Con controllers and get to the device’s first boot.
If this sounds like the sort of thing you’d happily spend a weekend doing, head on over the Foote’s Instructables post for the full guide in more detail.
Of course, you could always just buy a Switch instead. Just sayin’…
Source: Gizmodo
Website: LINK