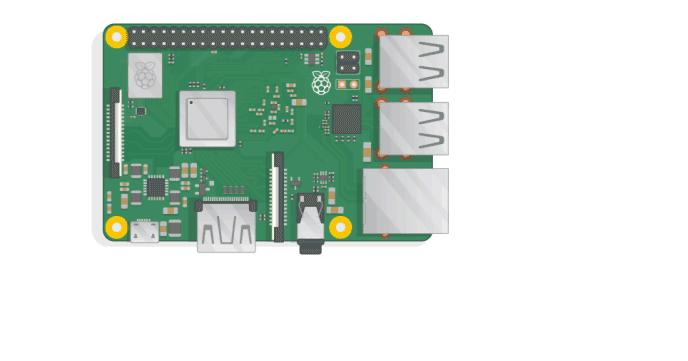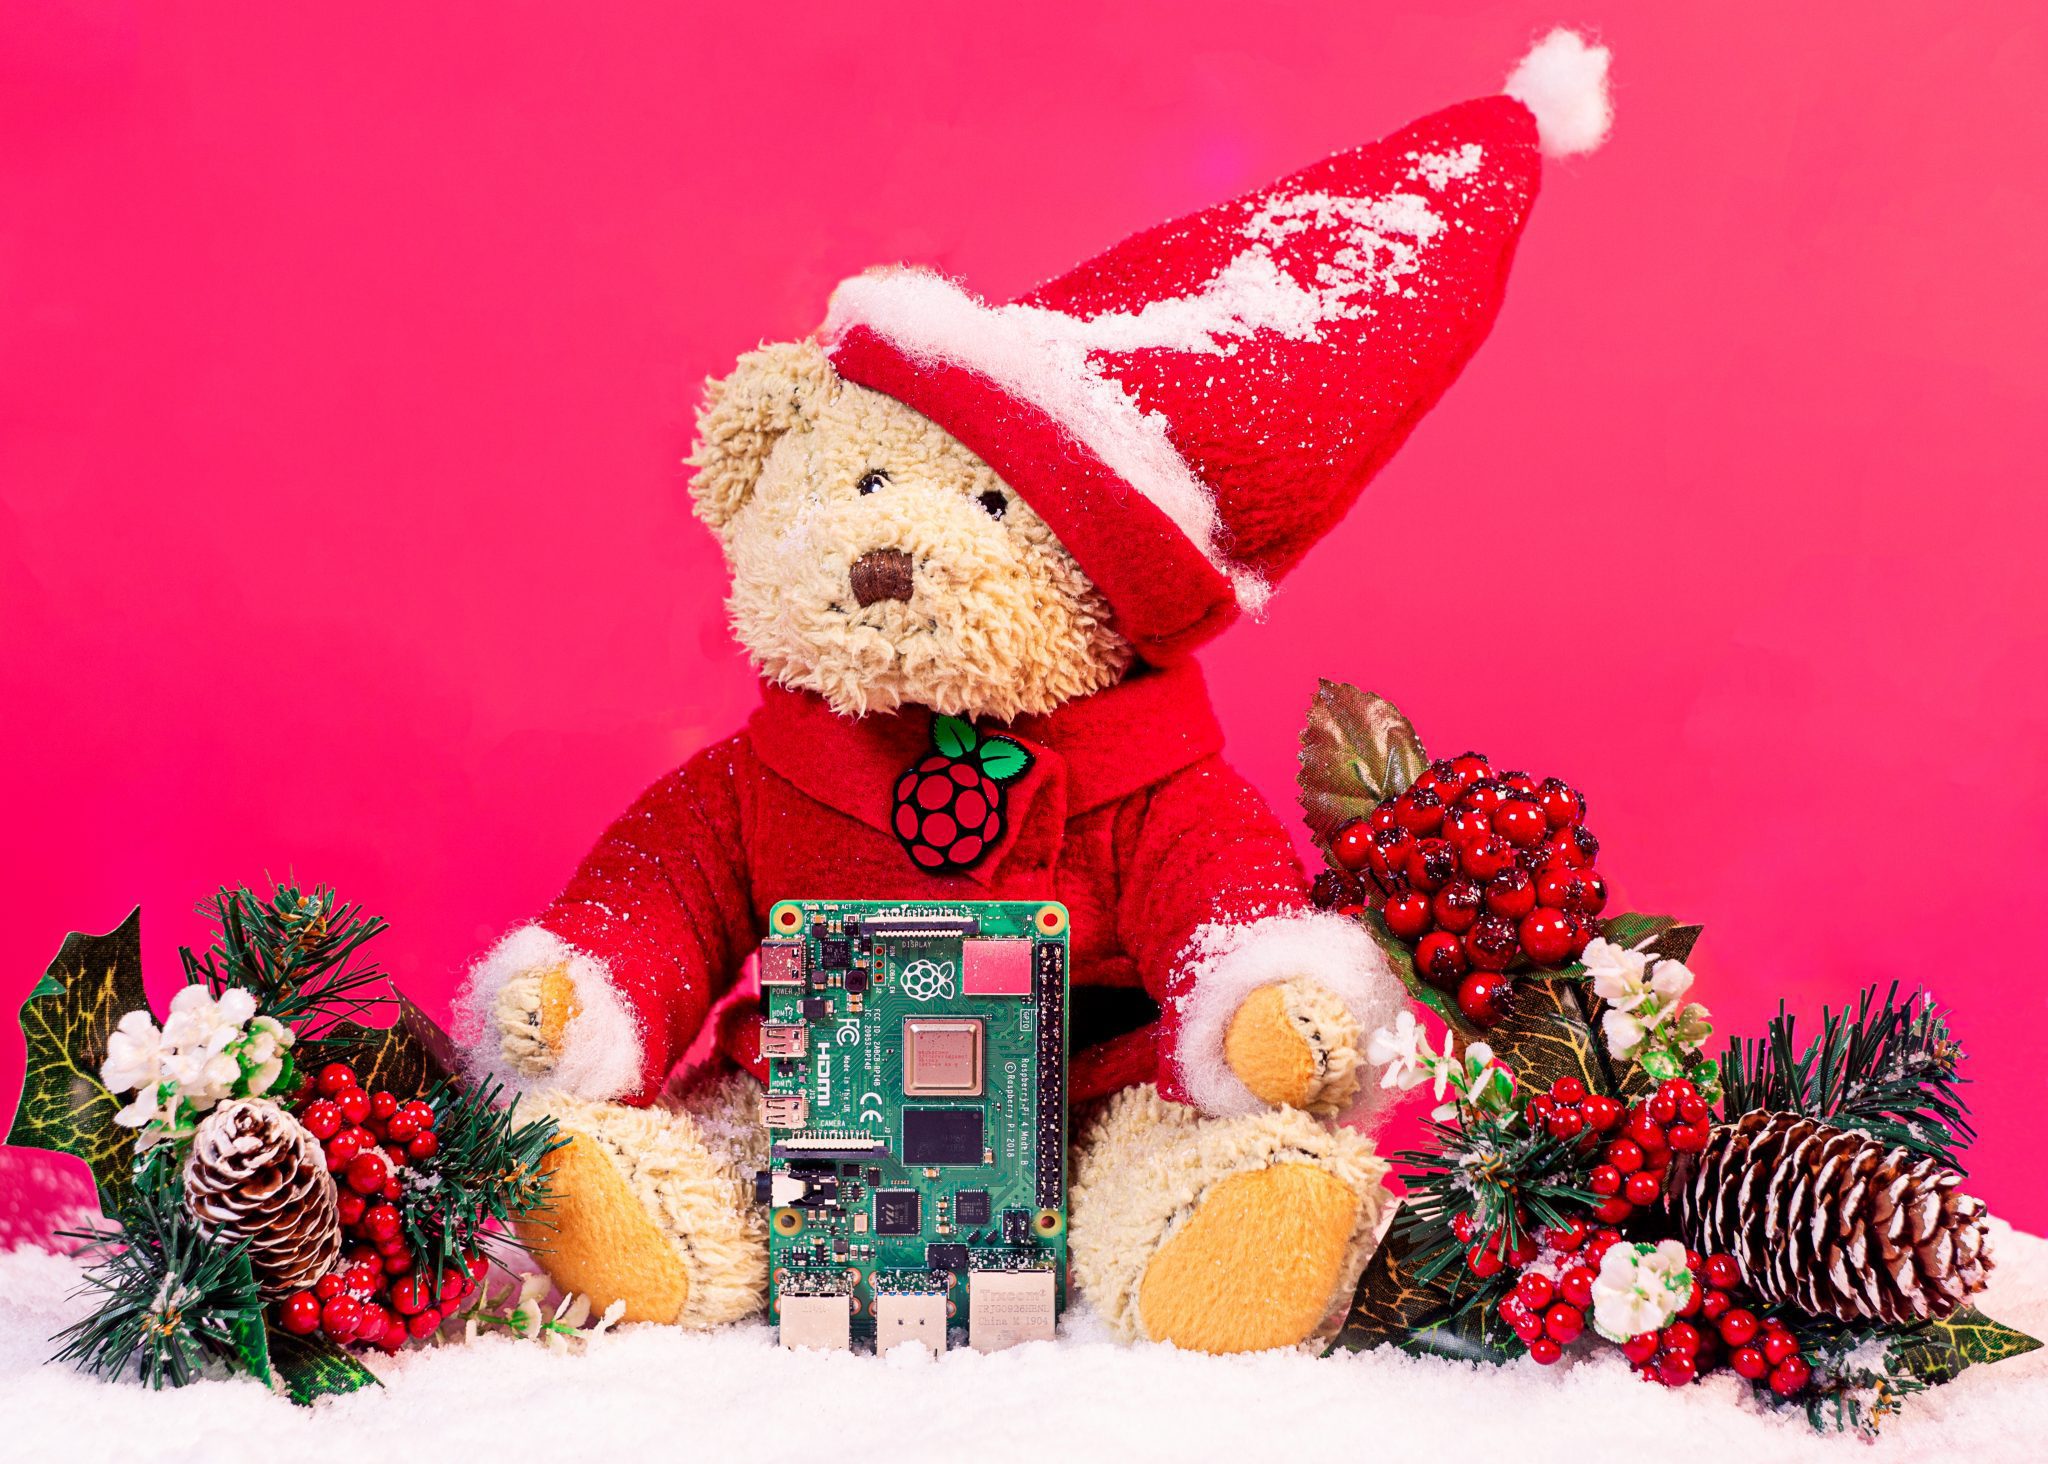
How to set up and use your brand-new Raspberry Pi
Reading Time: 5 minutesIf you’re reading this, it’s probably because you bagged yourself a brand-new Raspberry Pi for Christmas, and you’re wondering what you should do next. Well, look no further, for we’re here to show you the ropes. So, sit back, pull on a pair of those nice, warm socks that you found in your stocking, top […]