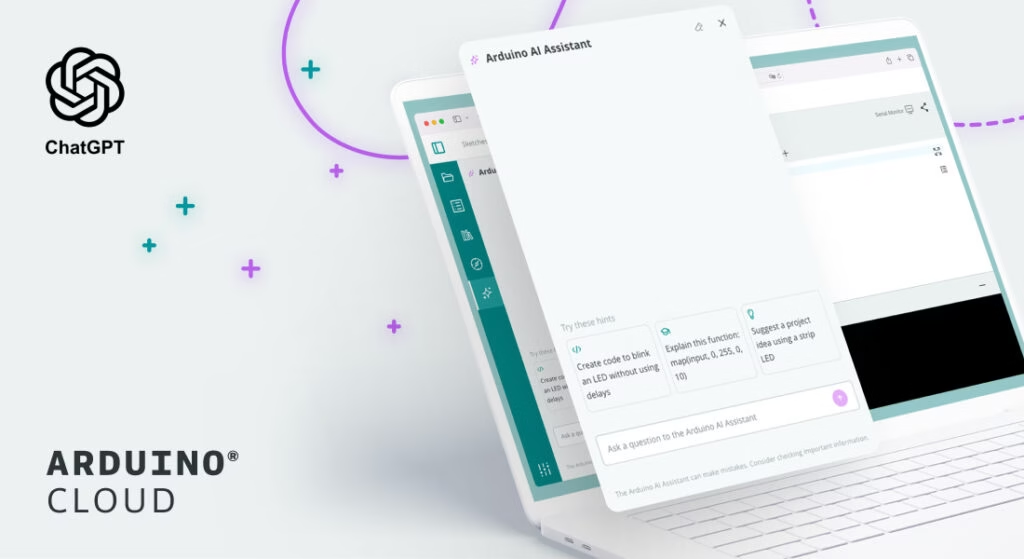
Arduino AI Assistant vs. ChatGPT: Which one to use for your projects?
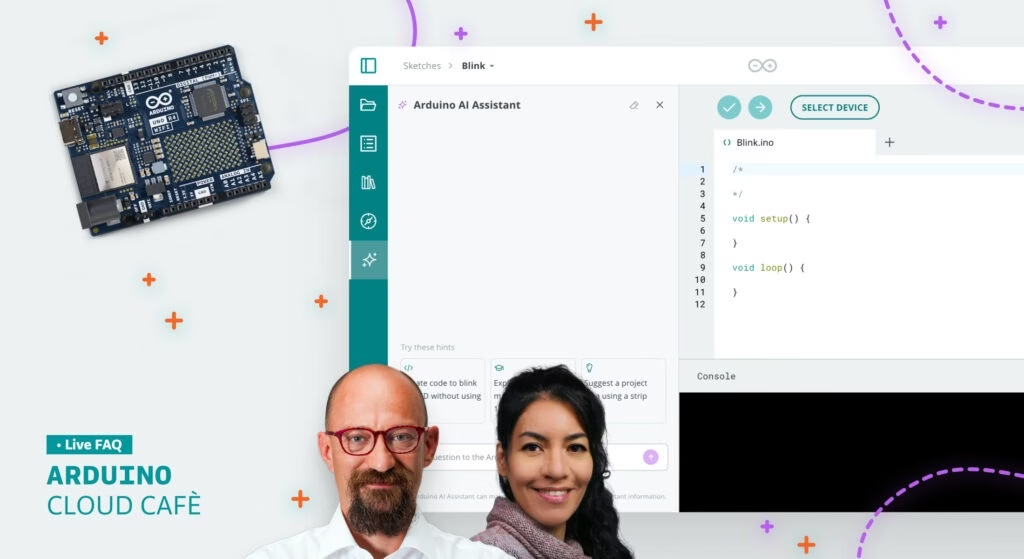
Reading Time: 4 minutesIf you’ve been turning to ChatGPT to write your Arduino code, you may actually be missing out on a tool designed just for you: the Arduino AI Assistant, built directly into Arduino Cloud. While general-purpose AIs like ChatGPT can generate code, they often miss critical details, such as using the wrong libraries or adding unnecessary […]