Schlagwort: alexa
-

Connect your space heater to the Arduino Cloud and control it via Alexa
Reading Time: 2 minutesArduino Team — October 13th, 2021 Being able to design your own custom smart home device is a great way to both have fun experimenting with various hardware/software and to escape the walled IoT device ecosystems that so many users find themselves trapped within. One maker who goes by mrdesha came up with…
-
14 awesome Arduino Cloud features you never knew existed
Reading Time: 7 minutesThere are dozens, if not hundreds of amazing Arduino Cloud features. So it’s perfectly understandable if you’ve missed some of them. So we’ve put together a list of our favorite Arduino Cloud features that you might not know existed. 1) Auto-Generate Sketches We’ve talked elsewhere about getting an understanding of what cloud…
-

Remote working with Arduino: Alexa and the Arduino IoT Cloud
Reading Time: 2 minutesRemote working with Arduino: Alexa and the Arduino IoT Cloud Arduino Team — May 13th, 2020 We’ll certainly remember this year, with many of us learning how to adapt and live a safe life-style under the pandemic. As many countries begin to initiate a relaxation of restrictions and we are starting to…
-

Logitech Harmony: Einfachere Sprachbefehle für Amazon Alexa
Reading Time: 2 minutesDurch ein Softwareupdate werden die Sprachbefehle für Amazon Alexa über die Logitech Harmony-Fernbedienung intuitiver und natürlicher Dank eines Softwareupdates des Logitech Harmony Skills für Amazon Alexa werden Sprachbefehle künftig noch einfacher. Nutzer müssen beispielsweise nicht mehr „Alexa, schalte den Fernseher ein mit Harmony“ sagen, wenn sie eine Logitech Harmony Hub-basierte Fernbedienung zur…
-

Marvellous retrofitted home assistants
Reading Time: 4 minutesAs more and more digital home assistants are appearing on the consumer market, it’s not uncommon to see the towering Amazon Echo or sleek Google Home when visiting friends or family. But we, the maker community, are rarely happy unless our tech stands out from the rest. So without further ado, here’s…
-

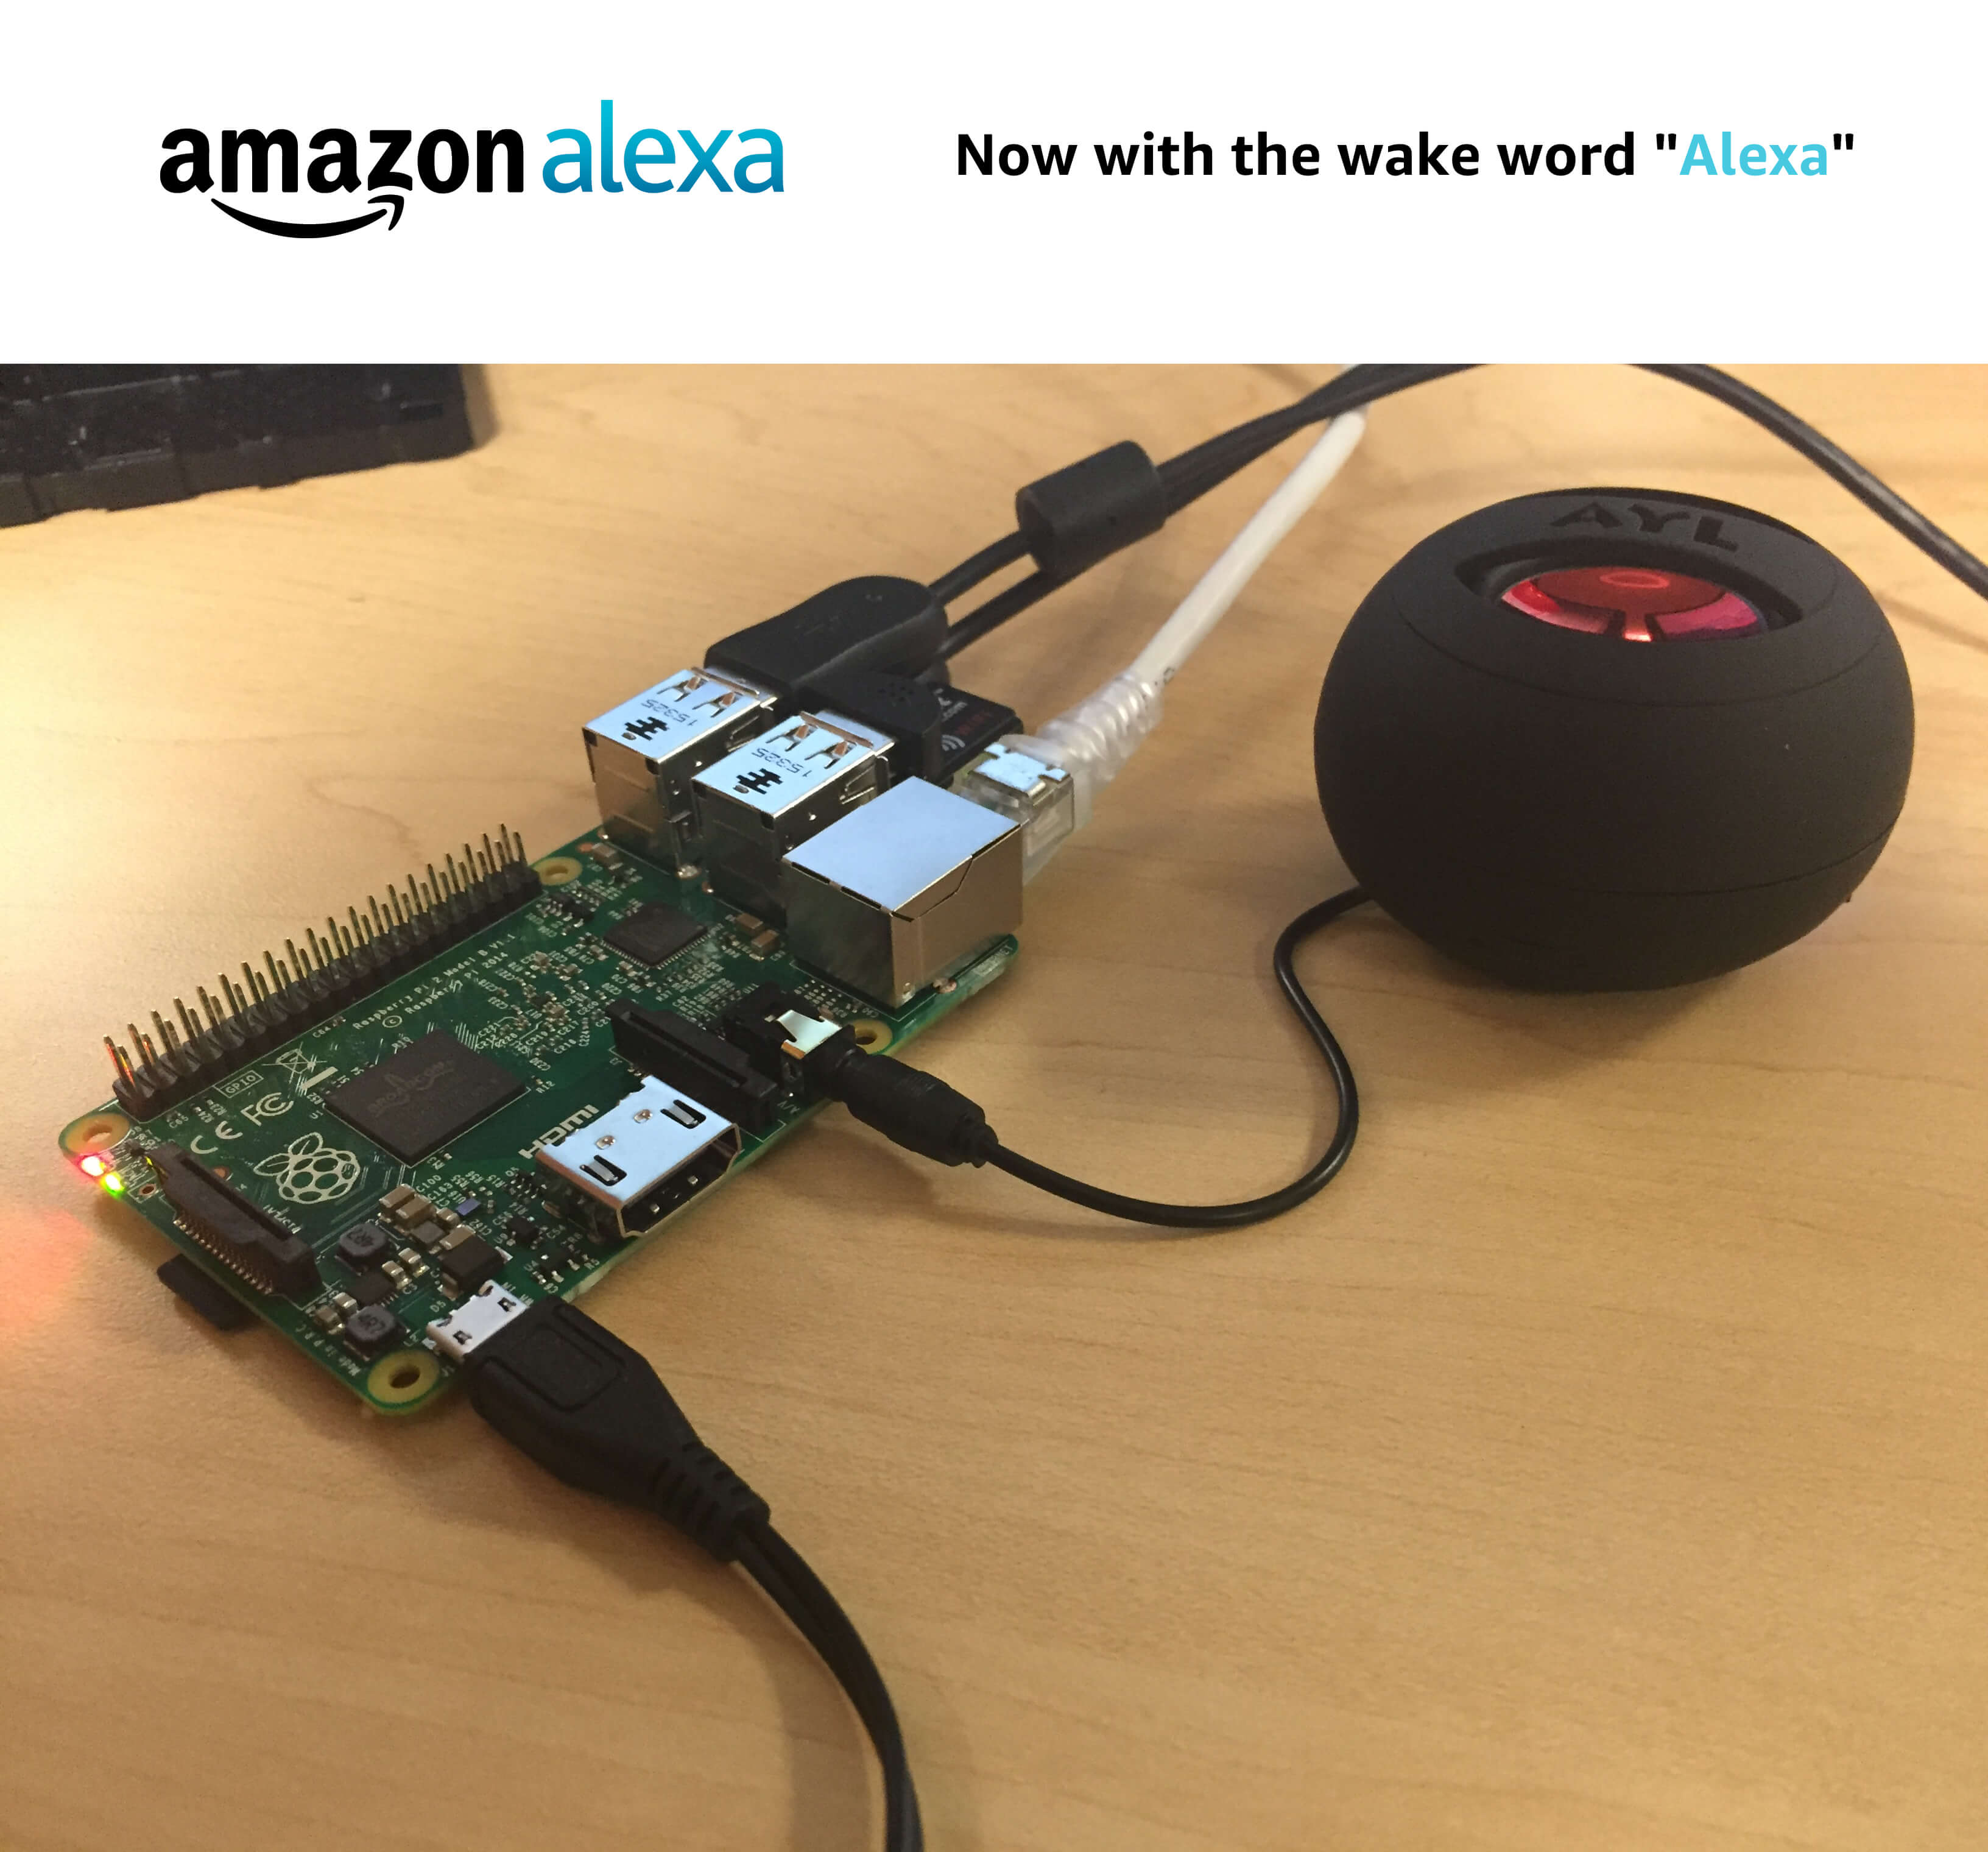
Raspberry Pi 3 Alexa DIY Project
Reading Time: 7 minutesRequired hardware Before you get started, let’s review what you’ll need. Raspberry Pi 3 (Recommended) or Pi 2 Model B (Supported) – Buy at Amazon – Pi 3 or Pi 2. Micro-USB power cable for Raspberry Pi. Micro SD Card (Minimum 8 GB) – You need an operating system to get started.…