Enabling two-factor authentication (2FA) to boost security for your important accounts is becoming a lot more common these days. However you might be surprised to learn that you can do the same with your Raspberry Pi. You can enable 2FA on Raspberry Pi, and afterwards you’ll be challenged for a verification code when you access it remotely via Secure Shell (SSH).
Accessing your Raspberry Pi via SSH
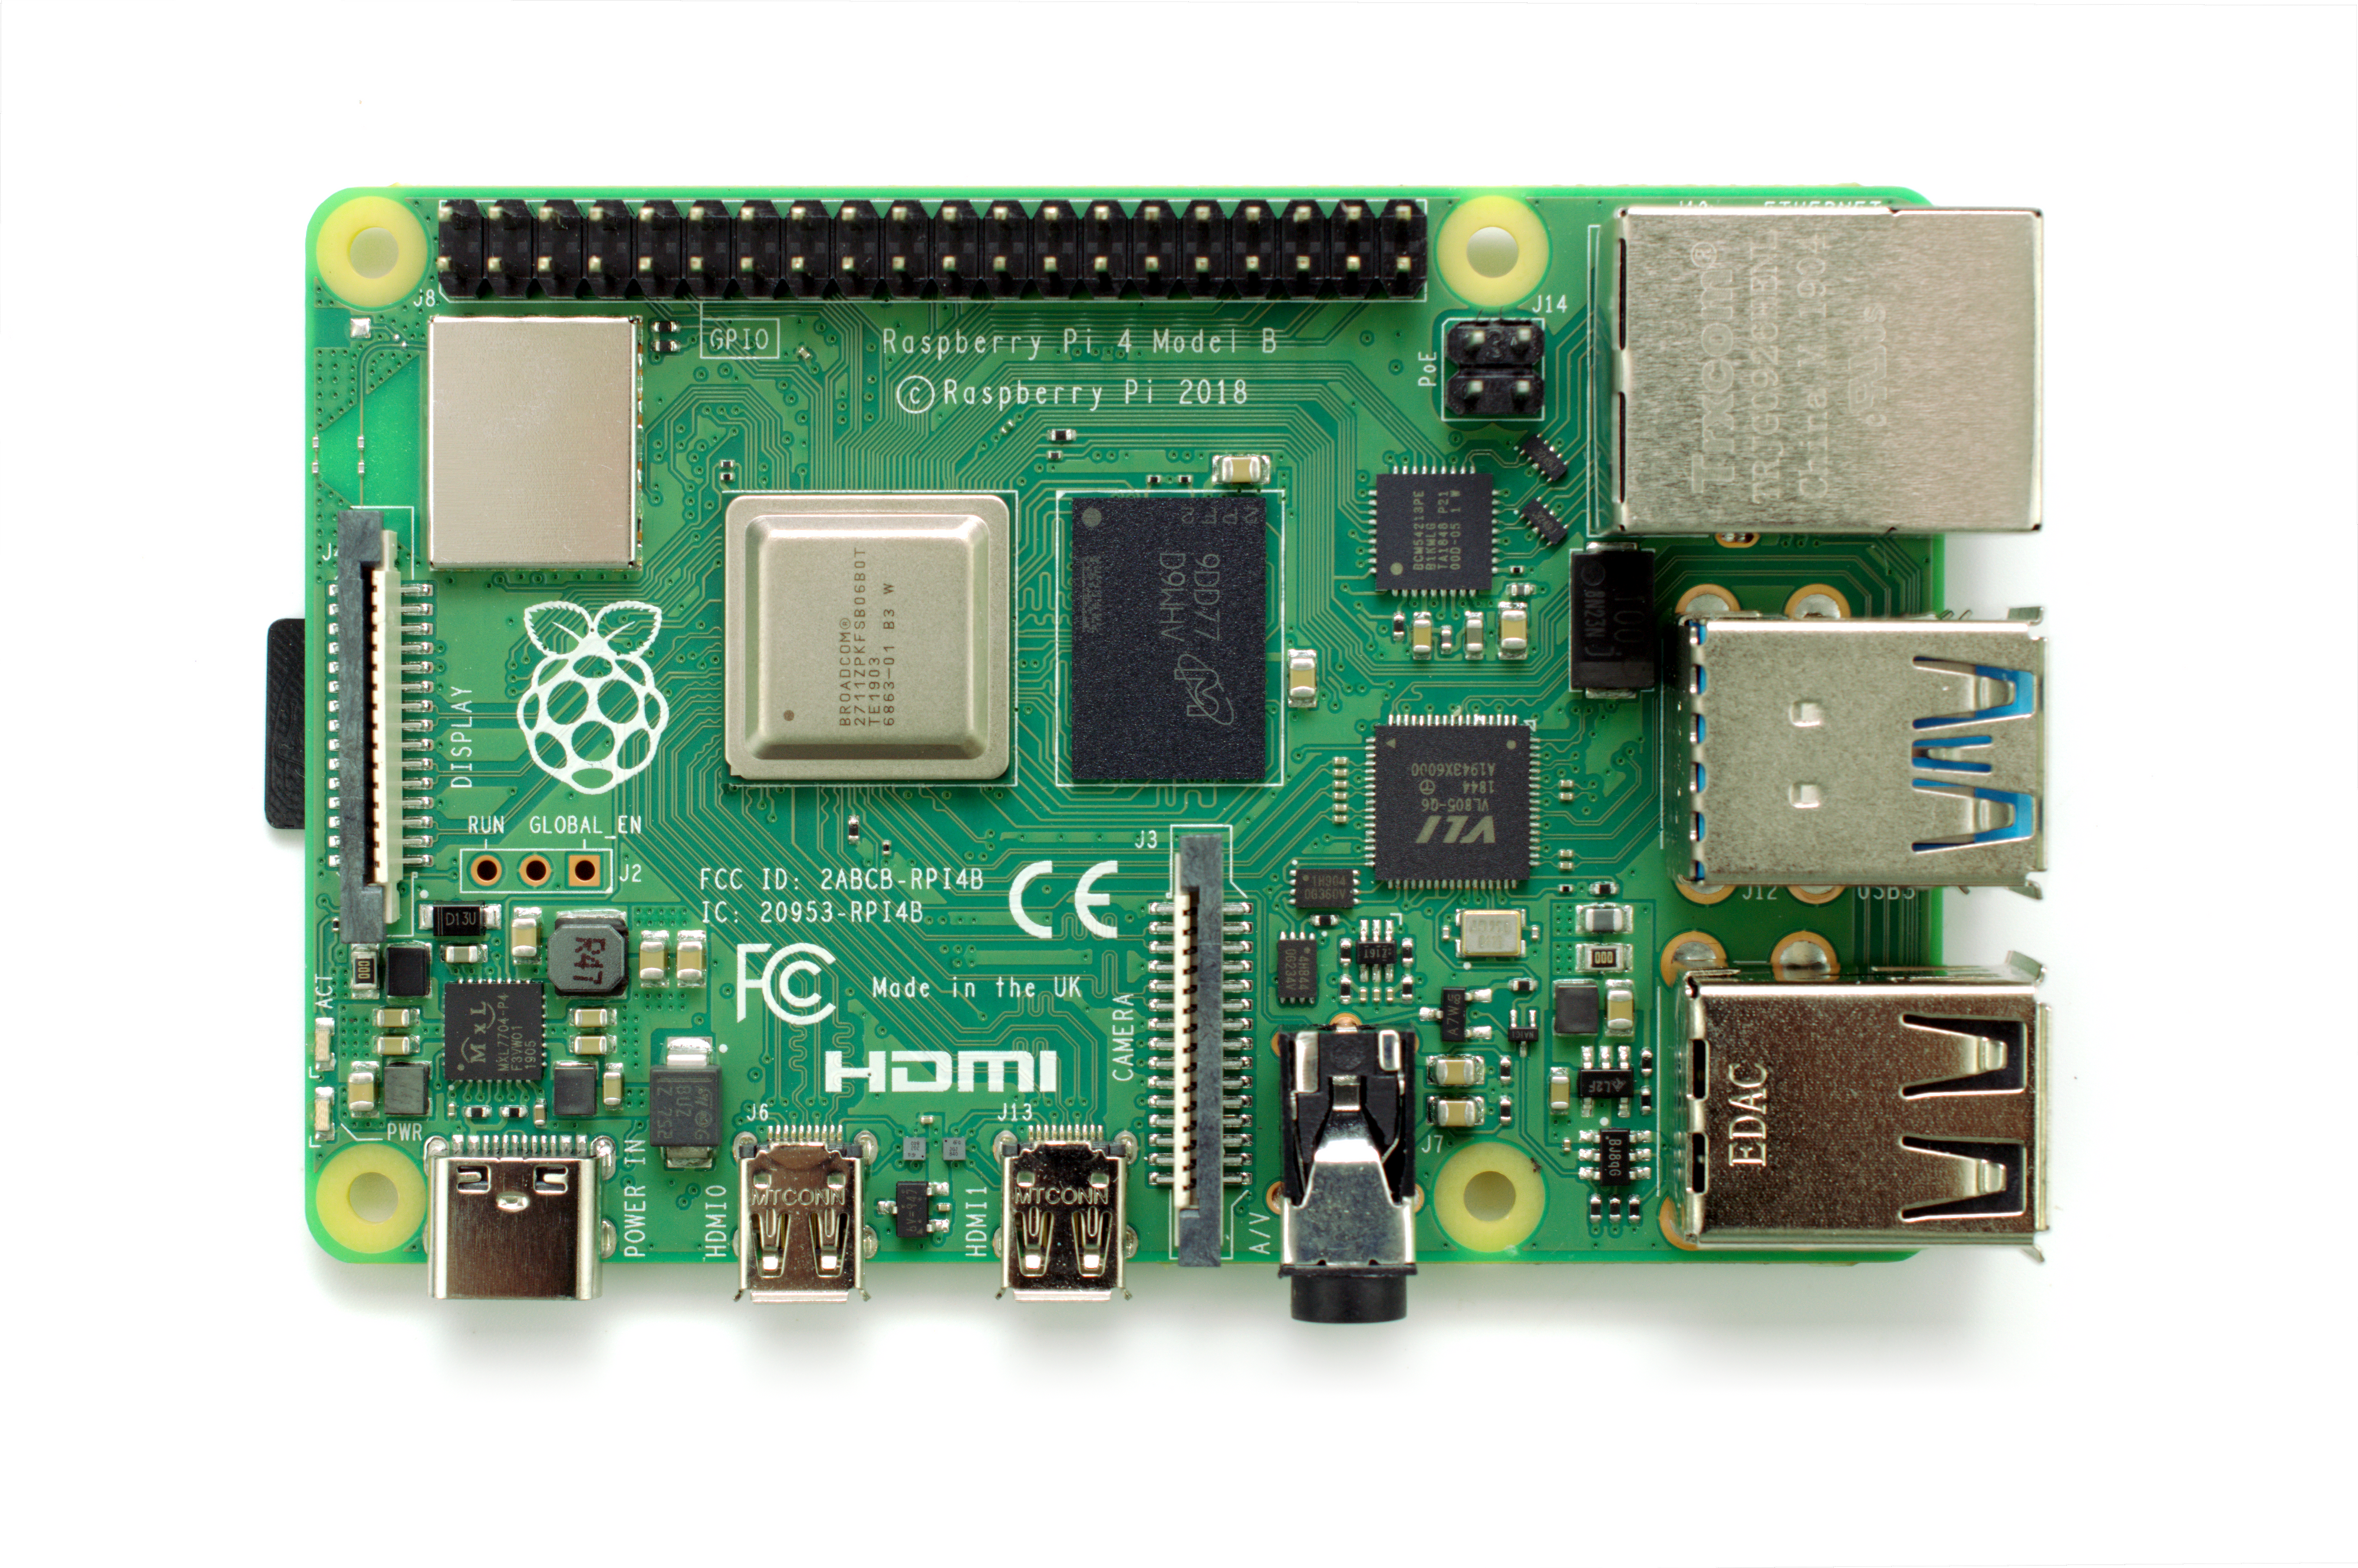
A lot of people use a Raspberry Pi at home as a file, or media, server. This is has become rather common with the launch of Raspberry Pi 4, which has both USB 3 and Gigabit Ethernet. However, when you’re setting up this sort of server you often want to run it “headless”; without a monitor, keyboard, or mouse. This is especially true if you intend tuck your Raspberry Pi away behind your television, or somewhere else out of the way. In any case, it means that you are going to need to enable Secure Shell (SSH) for remote access.
However, it’s also pretty common to set up your server so that you can access your files when you’re away from home, making your Raspberry Pi accessible from the Internet.
Most of us aren’t going to be out of the house much for a while yet, but if you’re taking the time right now to build a file server, you might want to think about adding some extra security. Especially if you intend to make the server accessible from the Internet, you probably want to enable two-factor authentication (2FA) using Time-based One-Time Password (TOTP).
What is two-factor authentication?
Two-factor authentication is an extra layer of protection. As well as a password, “something you know,” you’ll need another piece of information to log in. This second factor will be based either on “something you have,” like a smart phone, or on “something you are,” like biometric information.
We’re going to go ahead and set up “something you have,” and use your smart phone as the second factor to protect your Raspberry Pi.
Updating the operating system
The first thing you should do is make sure your Raspberry Pi is up to date with the latest version of Raspbian. If you’re running a relatively recent version of the operating system you can do that from the command line:
$ sudo apt-get update $ sudo apt-get full-upgrade
If you’re pulling your Raspberry Pi out of a drawer for the first time in a while, though, you might want to go as far as to install a new copy of Raspbian using the new Raspberry Pi Imager, so you know you’re working from a good image.
Enabling Secure Shell
The Raspbian operating system has the SSH server disabled on boot. However, since we’re intending to run the board without a monitor or keyboard, we need to enable it if we want to be able to SSH into our Raspberry Pi.
The easiest way to enable SSH is from the desktop. Go to the Raspbian menu and select “Preferences > Raspberry Pi Configuration”. Next, select the “Interfaces” tab and click on the radio button to enable SSH, then hit “OK.”
You can also enable it from the command line using systemctl:
$ sudo systemctl enable ssh $ sudo systemctl start ssh
Alternatively, you can enable SSH using raspi-config, or, if you’re installing the operating system for the first time, you can enable SSH as you burn your SD Card.
Enabling challenge-response
Next, we need to tell the SSH daemon to enable “challenge-response” passwords. Go ahead and open the SSH config file:
$ sudo nano /etc/ssh/sshd_config
Enable challenge response by changing ChallengeResponseAuthentication from the default no to yes.

Editing /etc/ssh/ssd_config.
Then restart the SSH daemon:
$ sudo systemctl restart ssh
It’s good idea to open up a terminal on your laptop and make sure you can still SSH into your Raspberry Pi at this point — although you won’t be prompted for a 2FA code quite yet. It’s sensible to check that everything still works at this stage.
Installing two-factor authentication
The first thing you need to do is download an app to your phone that will generate the TOTP. One of the most commonly used is Google Authenticator. It’s available for Android, iOS, and Blackberry, and there is even an open source version of the app available on GitHub.

Google Authenticator in the App Store.
So go ahead and install Google Authenticator, or another 2FA app like Authy, on your phone. Afterwards, install the Google Authenticator PAM module on your Raspberry Pi:
$ sudo apt install libpam-google-authenticator
Now we have 2FA installed on both our phone, and our Raspberry Pi, we’re ready to get things configured.
Configuring two-factor authentication
You should now run Google Authenticator from the command line — without using sudo — on your Raspberry Pi in order to generate a QR code:
$ google-authenticator
Afterwards you’re probably going to have to resize the Terminal window so that the QR code is rendered correctly. Unfortunately, it’s just slightly wider than the standard 80 characters across.

The QR code generated by google-authenticator. Don’t worry, this isn’t the QR code for my key; I generated one just for this post that I didn’t use.
Don’t move forward quite yet! Before you do anything else you should copy the emergency codes and put them somewhere safe.
These codes will let you access your Raspberry Pi — and turn off 2FA — if you lose your phone. Without them, you won’t be able to SSH into your Raspberry Pi if you lose or break the device you’re using to authenticate.
Next, before we continue with Google Authenticator on the Raspberry Pi, open the Google Authenticator app on your phone and tap the plus sign (+) at the top right, then tap on “Scan barcode.”
Your phone will ask you whether you want to allow the app access to your camera; you should say “Yes.” The camera view will open. Position the barcode squarely in the green box on the screen.

Scanning the QR code with the Google Authenticator app.
As soon as your phone app recognises the QR code it will add your new account, and it will start generating TOTP codes automatically.

The TOTP in Google Authenticator app.
Your phone will generate a new one-time password every thirty seconds. However, this code isn’t going to be all that useful until we finish what we were doing on your Raspberry Pi. Switch back to your terminal window and answer “Y” when asked whether Google Authenticator should update your .google_authenticator file.
Then answer “Y” to disallow multiple uses of the same authentication token, “N” to increasing the time skew window, and “Y” to rate limiting in order to protect against brute-force attacks.
You’re done here. Now all we have to do is enable 2FA.
Enabling two-factor authentication
We’re going to use Linux Pluggable Authentication Modules (PAM), which provides dynamic authentication support for applications and services, to add 2FA to SSH on Raspberry Pi.
Now we need to configure PAM to add 2FA:
$ sudo nano /etc/pam.d/sshd
Add auth required pam_google_authenticator.so to the top of the file. You can do this either above or below the line that says @include common-auth.
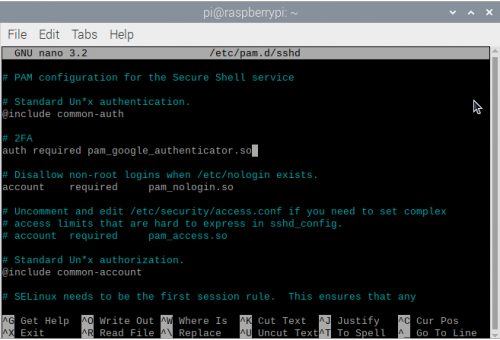
Editing /etc/pam.d/sshd.
As I prefer to be prompted for my verification code after entering my password, I’ve added this line after the @include line. If you want to be prompted for the code before entering your password you should add it before the @include line.
Now restart the SSH daemon:
$ sudo systemctl restart ssh
Next, open up a terminal window on your laptop and try and SSH into your Raspberry Pi.
Wrapping things up
If everything has gone to plan, when you SSH into the Raspberry Pi, you should be prompted for a TOTP after being prompted for your password.

SSH’ing into my Raspberry Pi.
You should go ahead and open Google Authenticator on your phone, and enter the six-digit code when prompted. Then you should be logged into your Raspberry Pi as normal.
You’ll now need your phone, and a TOTP, every time you ssh into, or scp to and from, your Raspberry Pi. But because of that, you’ve just given a huge boost to the security of your device.
Now you have the Google Authenticator app on your phone, you should probably start enabling 2FA for your important services and sites — like Google, Twitter, Amazon, and others — since most bigger sites, and many smaller ones, now support two-factor authentication.
Website: LINK