Copyright alert!
DOSBox is an emulator and we use it with open-source FreeDOS code. Be mindful of copyright when downloading image files, and only use proprietary software that you own and in accordance with the licence terms.
To run Windows 98 software on Raspberry Pi you’ll need
:
Find a copy of Windows 98
Getting hold of Windows 98 is no longer easy as – unlike MS-DOS, or Windows 3.1 and 7 – Microsoft is no longer allowed to distribute Windows 95, 98, and Me through its Visual Studio Subscriptions program due to an intellectual property claim by Sun.
That means you’ll have to find a second-hand or unsold stock copy – eBay is a good bet for this – or rummage through your loft for old installation discs. The Windows product key is the really important bit here as the software is useless without it: check for key stickers on your old laptop or desktop PCs.
You’ll also need a boot floppy to run most versions of the installation disc.
Image install media
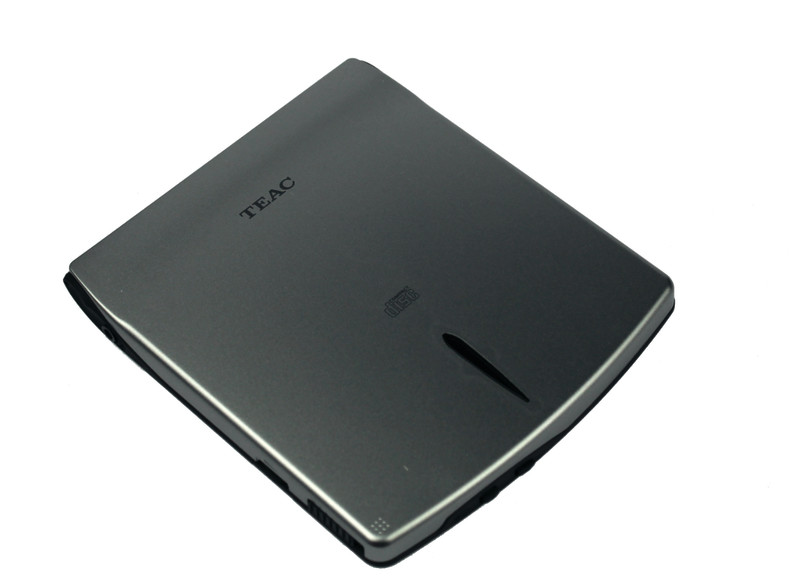
It’s easiest to install Windows 98 from images, so we’ll want to copy both boot and install media. You can use another computer to image your discs and then copy them over, but if you have USB CD and floppy disk drives that play nicely with Raspberry Pi – not all do – then you can use dd in a Terminal window.
CD example:
dd if=/dev/sr0 of=win98.iso
Floppy example:
dd bs=512 count=2880 if=/dev/sda of=win98boot.img
In this tutorial, we’ve put all our media images in our home directory, but you may wish to create dedicated CD and floppy directories to house them in.
Install DOSBox-X
Open a Terminal window and enter:
sudo apt install automake libncurses-dev nasm libsdl-net1.2-dev libpcap-dev libfluidsynth-dev ffmpeg libavdevice58 libavformat-* libswscale-* libavcodec-*
git clone https://github.com/joncampbell123/dosbox-x.git
cd dosbox-x
./build
sudo make install
dosbox-x
DOSBox-X should open at its Z: prompt. Now exit, because we’ll be using a custom config file for our Windows 98 shenanigans.
Before we get started in earnest, set Raspberry Pi’s desktop resolution to 1280×720 under Preferences > Screen Configuration, accessible from the main menu: this improves full-screen performance under Windows 98.
Configure networking
Download our win98_install.conf and win98.conf files from The MagPi GitHub and put them in your home directory.
[sdl]
autolock=true
fullresolution = desktop
output = opengl [dosbox]
title=Windows 98
memsize=64
cycles=60000
vesa modelist width limit=0
vesa modelist height limit=0 [render]
# aspect ratio correction
aspect = true [cpu]
cputype=pentium_mmx
core=normal [sblaster]
sbtype=sb16vibra
irq=5 [ne2000]
# If you want networking in Windows, set ne2000=true.
# This also requires that you set realnic= to a suitable value for your PC - that should be 1 for Raspberry Pi 4 wlan
ne2000=true
nicirq=10
realnic=1 [fdc, primary]
int13fakev86io=true [ide, primary]
int13fakeio=true
int13fakev86io=true [ide, secondary]
int13fakeio=true
int13fakev86io=true
cd-rom insertion delay=4000 [render]
scaler=none [autoexec]
imgmount 2 win98hd.img -size 512,63,130,1023 -fs none
imgmount d win98.iso
imgmount a win98boot.img -t floppy
# If you have a bootable Win98 disc replace the above line with:
# imgmount 0 -el-torito D -t floppy -fs none
boot A:
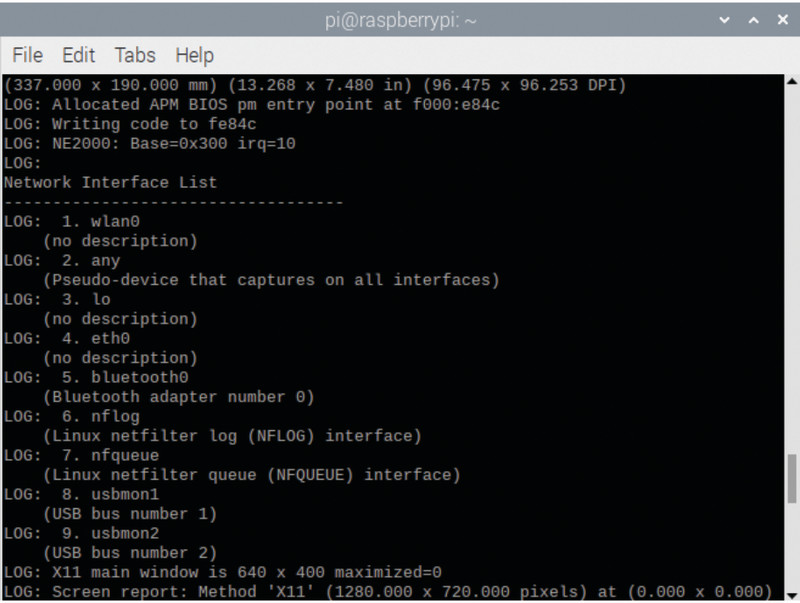
These files enable NE2000 networking, with NIC 1 selected. This is correct if you’re using Raspberry Pi 4’s integrated wireless LAN. However, if you encounter any issues or wish to use a different internet connection, set reallnic=list in the DOSBox-X config file and check the Network Interfaces List that DOSBox-X will show in the Bash terminal window.
You’ll need the PCAP library to give DOSBox-X network access.
sudo apt install pcap*
sudo setcap cap_net_raw+ep /usr/bin/dosbox-x
Check that this worked:
getcap /usr/bin/dosbox-x
Note that you’ll have to rerun the setcap command whenever you upgrade DOSBox-X.
Create a Windows 98 disk image
From a Terminal, run:
dosbox-x -conf win98_install.conf
Now, from inside DOSBox-X:
imgmake win98hd.img -t hd_2gig -nofs
We’re creating a 2GB hard disk image here, as 4GB images (although supported on other systems) currently throw up virtual disk geometry errors on Raspberry Pi.
We’ve included, and partially commented out, lines to automatically mount and boot the images we’ll use for installation in our win98_install.conf file, so once you’ve created this image, you can either uncomment them and restart DOSBox-X or enter them manually from at the DOS command prompt, as detailed in the following step.
[sdl]
# set fullscreen true if you want to launch in fullscreen mode
fullscreen=false
autolock=true
fullresolution = desktop
output = opengl [dosbox]
title=Windows 98
memsize=512
cycles=60000
vesa modelist width limit=0
vesa modelist height limit=0 [render]
# aspect ratio correction
aspect=true [cpu]
# pentium_mmx is recommended for Windows 98 installs but causes audio distortion in some games: switch cputype to auto if this occurs
cputype=pentium_mmx
core=normal [sblaster]
sbtype=sb16vibra
irq=5
dma=1
hdma=5 [ne2000]
# If you want networking in Windows, set ne2000=true.
# This also requires that you set realnic= to a suitable value for your PC - that should be 1 for Raspberry Pi 4 wlan
ne2000=true
nicirq=10
realnic=1 [fdc, primary]
int13fakev86io=true [ide, primary]
int13fakeio=true
int13fakev86io=true [ide, secondary]
int13fakeio=true
int13fakev86io=true
cd-rom insertion delay=4000 [render]
scaler=none [autoexec]
imgmount 2 win98hd.img -size 512,63,130,1023 -fs none
# imgmount a win98boot.img -t floppy
imgmount d win98.iso Win98Soft.iso boot win98hd.img
Boot your Windows disc
Enter the following at the DOS command prompt:
imgmount 2 win98hd.img -size 512,63,64,1023 -fs none
imgmount a win98boot.img -t floppy
imgmount d win98.iso -t iso -fs none -ide 2m
boot A:
Start Windows 98 Setup from CD-ROM, press ENTER to continue with setup as prompted, opt to configure unallocated disk space and enable large disk support, then press ENTER to restart.
DOSBox-X will restart its guest system and you – or your config file – should rerun the above mount and boot commands again.
Choose to start setup from CD-ROM again and the installer will format your blank disk image. Press ENTER when prompted to carry out the pre-installation check.
Install-time configuration
Agree to the EULA, then enter your Windows 98 Product Key. Click Next to accept the default C:\WINDOWS install directory. A ‘Typical’ install from the next set of options works for most users; select ‘Custom’ if you’re using a non-Latin character set.
Enter your name when prompted and move on to component selection, where you’ll find those additional character set options. Name your system, enter your network name, then set your keyboard, language, and location.
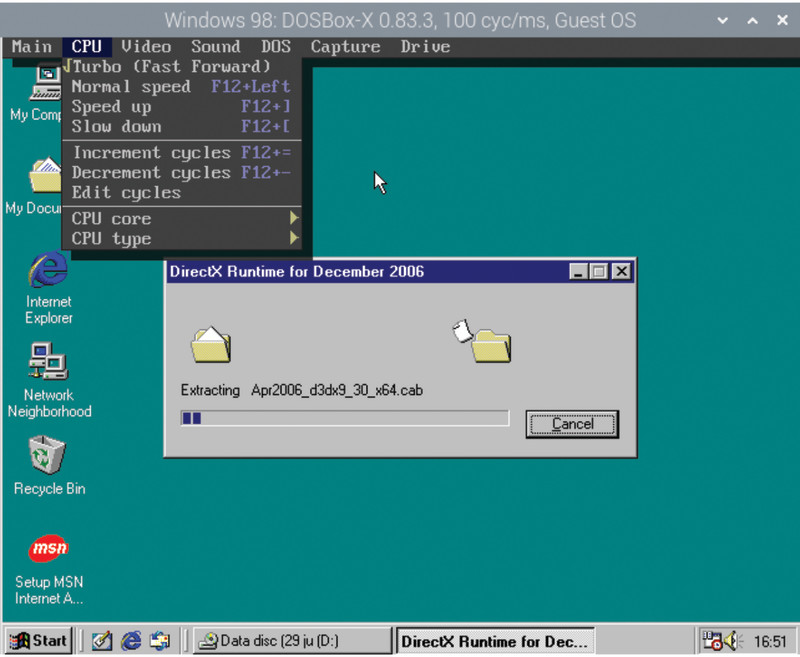
Skip creating a startup disk by clicking Next, then cancel when you’re prompted to insert a disc. The installer is finally ready to copy Windows 98’s files. Enable Turbo Mode from the DOBox-X CPU menu to speed this time-consuming process along. The guest system will reboot when finished.
Windows driver initialisation
At the DOBox-X Z: prompt, type:
boot win98hd.img
This boots into Windows 98 and, along with mount commands for the hard disk and a couple of ISO images, is already in our supplied win98.conf file, which you can use by launching DOSBox-X with:
dosbox-x -conf win98.conf
Windows 98 will take several minutes to initialise its drivers and may reboot during this process.
Set your time zone and network settings – the virtual network card’s IRQ should be set to 10 – when prompted. Setup will continue and the system will reboot.
At its first real boot, Windows will ask you to set a network password that will also be used for your system and then install more drivers from the CD.
Copy your install media
Copy your install media
You should have functional sound, Voodoo graphics, and networking. Tell Windows that you’re using a LAN connection. If anything fails to install correctly, use the Add New Hardware wizard and Device Manager to find and configure the relevant items.
To make future driver installation easier, copy the /wing98 folder from the install CD image to your virtual hard disk using Windows File Manager. You can direct Windows to default to checking this directory in place of the CD by opening regedit, navigating to
HKEY_LOCAL_MACHINE\Software\Microsoft\Windows\CurrentVersion\Setup and changing SourcePath= to the location where you copied the files. That’s SourcePath=C:\\WIN98\ in our case.
Update your drivers
DOSBox-X allows you to mount multiple disc images using its imgmount command, and switch between them by pressing F12+LEFT-CTRL+C. Our config file includes an example and we’ve created an ISO image full of drivers, demos, and free software to get you started at The MagPi GitHub.
Install, in this order: 7-zip, Windows Installer 2.0 (instmsi), Internet Explorer 6, dotnet 1, dotnet 2, the visual C++ resdistributable, the K-Lite Codec Pack, Windows Media Player (MPClassic), and the Sound Blaster 16 driver.
Enable Turbo Mode to speed up the slowest installers, but switch to Normal speed before you type anything.
Install some software
Now you have a Windows 98 PC, you’ll want something to run on it. Our software disc includes some freeware and shareware applications, including Dink Smallwood and the first episode of Doom.
Online auctions can supplement your collection and some publishers have made parts of their back catalogue available for free. That includes Dynamix’s Tribes 2 mech combat sim, three of EA’s Command & Conquer RTS series and some of 3000AD’s Battlecruiser space sims.
Innoextract can extract Windows 98 compatible files from GOG packages, KernelEx runs Windows XP software, and Brasero can burn downloaded software to disc images for easy mounting. Install Brasero with:
sudo apt install braseroBoot to Windows
If you want Raspberry Pi to really feel like a Windows 98 PC, you’ll want it to boot directly to DOSBox-X’s guest operating system. Open your config file, set fullscreen=true, and add any disc images you plan on using to the autoexec section. Also make a note of the shortcuts you’ll need to swap CD and floppy images.
mkdir /home/pi/.config/autostart
mousepad /home/pi/.config/autostart/dosbox.desktop
Add the following to the new text file and save it:
[Desktop Entry]
Type=Application
Name=DOSBox
Exec=/usr/bin/dosbox-x
Copy your config file to DOSBox-X’s default config file location:
cp /home/pi/win98/conf /home/pi/.config/dosbox-x/dosbox-x-0.83.3.conf
Now reboot Raspberry Pi into Windows.

