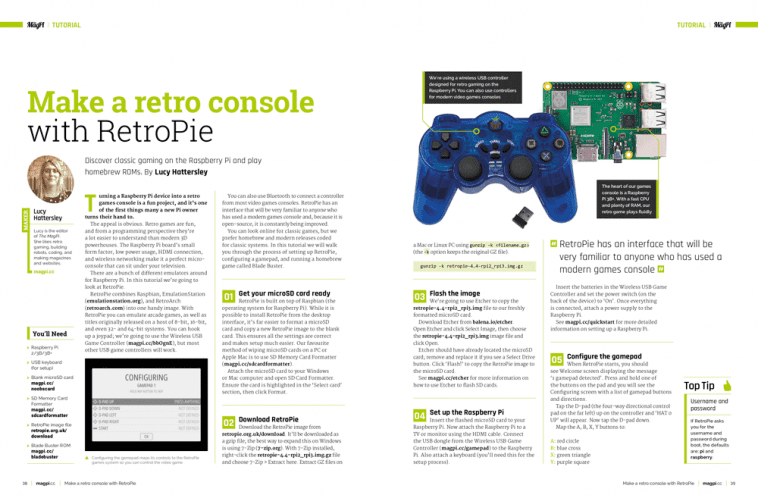
Discover classic gaming on the Raspberry Pi and play homebrew ROMs, with this two-part tutorial from The MagPi Editor Lucy Hattersley.

Raspberry Pi retro games console
Turning a Raspberry Pi device into a retro games console is a fun project, and it’s one of the first things many a new Pi owner turns their hand to.
The appeal is obvious. Retro games are fun, and from a programming perspective, they’re a lot easier to understand than modern 3D powerhouses. The Raspberry Pi board’s small form factor, low power usage, HDMI connection, and wireless networking make it a perfect micro-console that can sit under your television.
RetroPie
There are a bunch of different emulators around for Raspberry Pi. In this tutorial, we’re going to look at RetroPie.
RetroPie combines Raspbian, EmulationStation, and RetroArch into one handy image. With RetroPie you can emulate arcade games, as well as titles originally released on a host of 8-bit, 16-bit, and even 32- and 64-bit systems. You can hook up a joypad; we’re going to use the Wireless USB Game Controller, but most other USB game controllers will work.
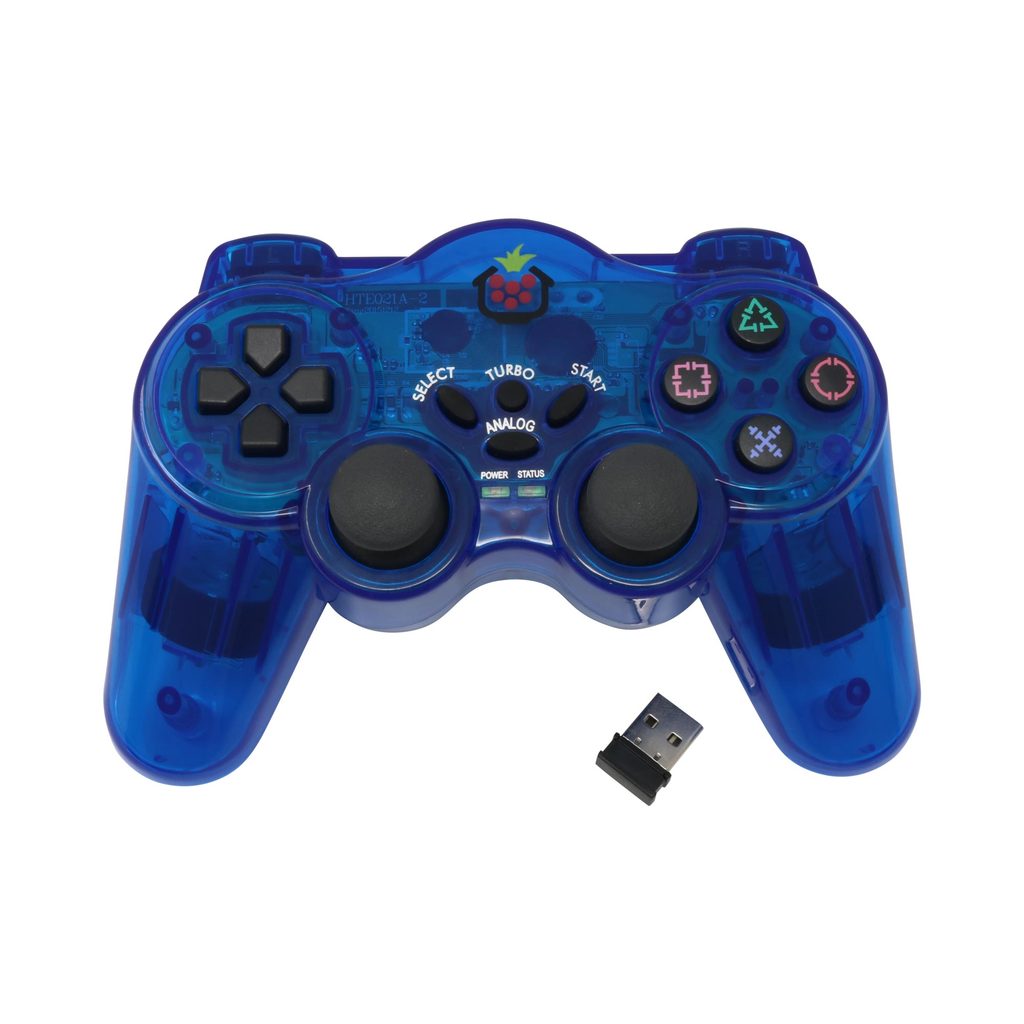
You can also use Bluetooth to connect a controller from most video games consoles. RetroPie has an interface that will be very familiar to anyone who has used a modern games console, and because it is open-source, it is constantly being improved.
You can look online for classic games, but we prefer homebrew and modern releases coded for classic systems. In this tutorial, we will walk you through the process of setting up RetroPie, configuring a gamepad, and running a homebrew game called Blade Buster.
Get your microSD card ready
RetroPie is built on top of Raspbian (the operating system for Raspberry Pi). While it is possible to install RetroPie from the desktop interface, it’s far easier to format a microSD card† and copy a new RetroPie image to the blank card. This ensures all the settings are correct and makes setup much easier. Our favourite method of wiping microSD cards on a PC or Apple Mac is to use SD Memory Card Formatter.
Attach the microSD card to your Windows or Mac computer and open SD Card Formatter. Ensure the card is highlighted in the Select card section, then click Format.
Download RetroPie
Download the RetroPie image. It’ll be downloaded as a gzip file; the best way to expand this on Windows is using 7-Zip (7-zip.org).
With 7-Zip installed, right-click the retropie-4.4-rpi2_rpi3.img.gz file and choose 7-Zip > Extract here. Extract GZ files on a Mac or Linux PC using gunzip -k <filename.gz> (the -k option keeps the original GZ file).
gunzip -k retropie-4.4-rpi2_rpi3.img.gz
Flash the image
We’re going to use Etcher to copy the retropie-4.4-rpi2_rpi3.img file to our freshly formatted microSD card. Download Etcher. Open Etcher and click Select Image, then choose the retropie-4.4-rpi2_rpi3.img image file and click Open.
Etcher should have already located the microSD card; remove and replace it if you see a Select Drive button. Click Flash! to copy the RetroPie image to the microSD card.
See our guide for more information on how to use Etcher to flash SD cards.
Set up the Raspberry Pi
Insert the flashed microSD card to your Raspberry Pi. Now attach the Raspberry Pi to a TV or monitor using the HDMI cable. Connect the USB dongle from the Wireless USB Game Controller to the Raspberry Pi. Also attach a keyboard (you’ll need this for the setup process).
Insert the batteries in the Wireless USB Game Controller and set the power switch (on the back of the device) to On. Once everything is connected, attach a power supply to the Raspberry Pi.
See our quickstart guide for more detailed information on setting up a Raspberry Pi.
Configure the gamepad
When RetroPie starts, you should see Welcome screen displaying the message ‘1 gamepad detected’. Press and hold one of the buttons on the pad, and you will see the Configuring screen with a list of gamepad buttons and directions.
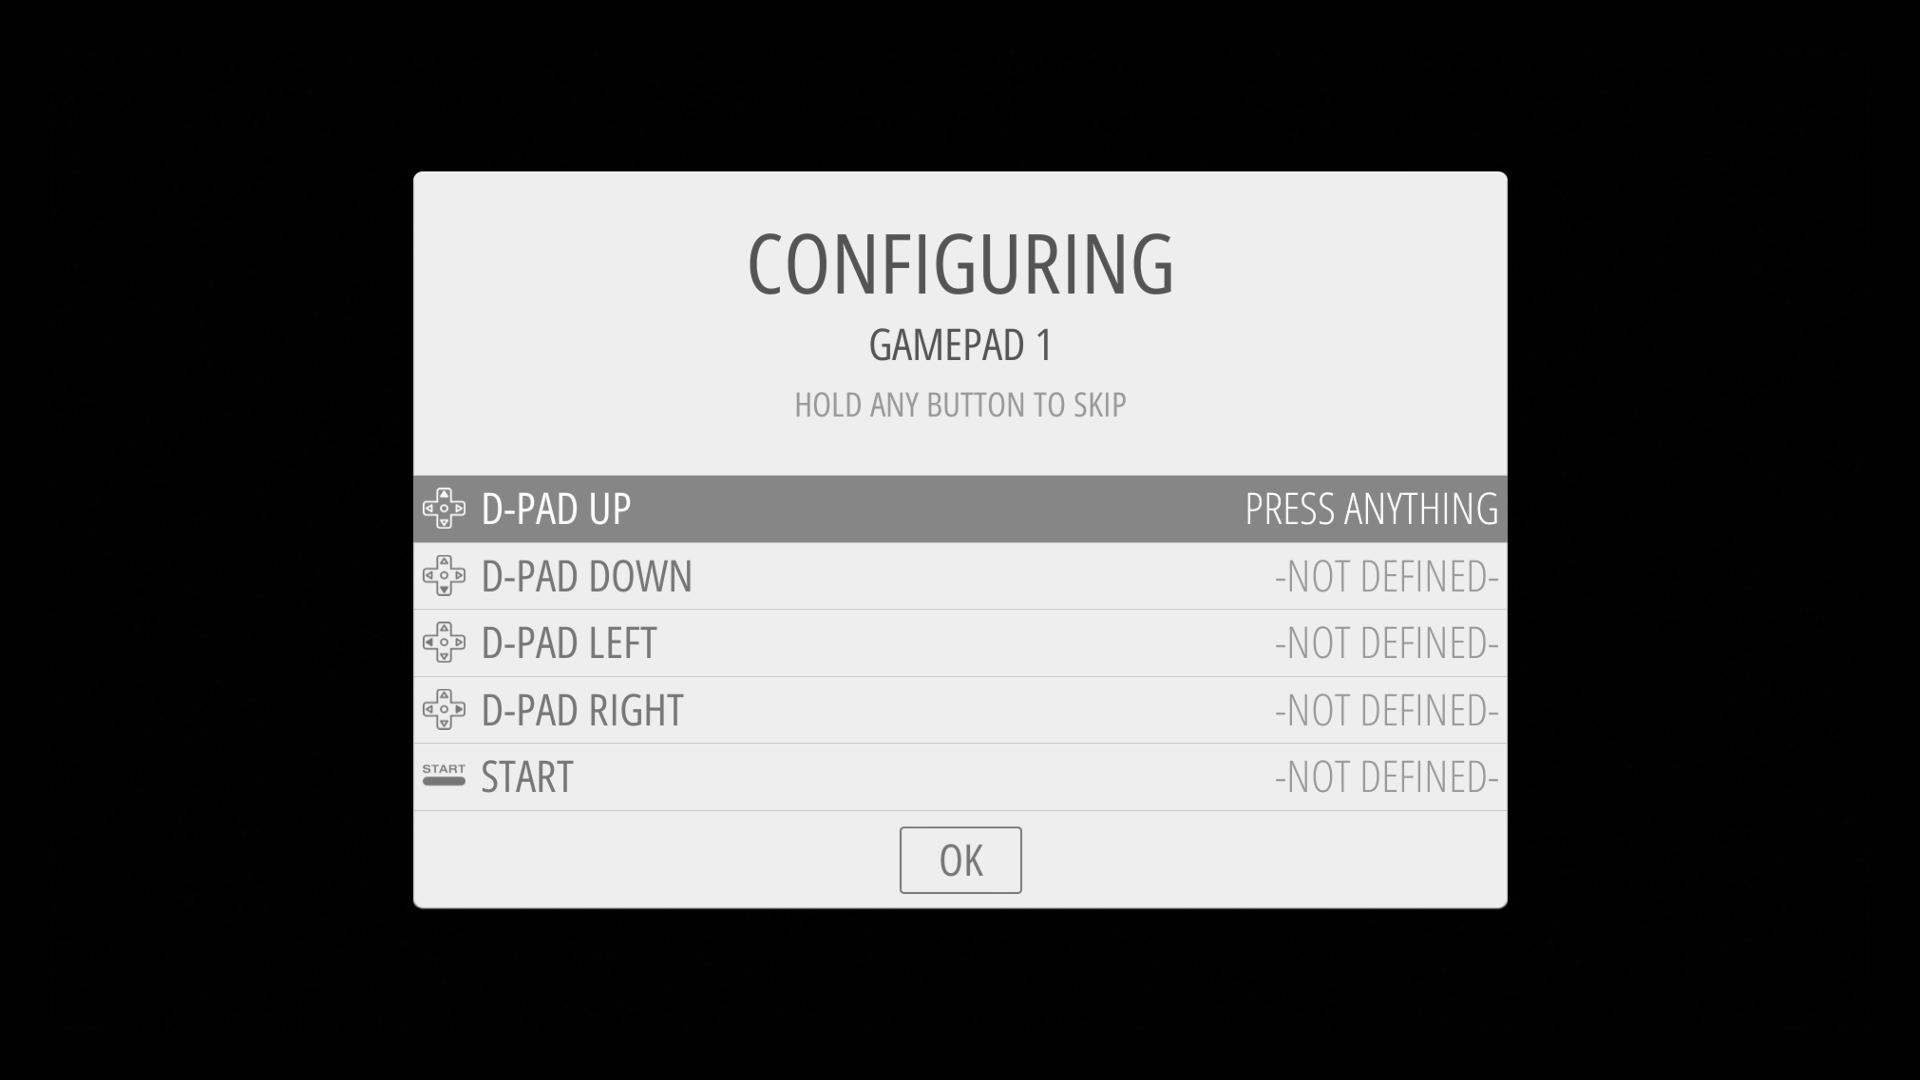
Tap the D-pad (the four-way directional control pad on the far left) up on the controller and ‘HAT 0 UP’ will appear. Now tap the D-pad down.
Map the A, B, X, Y buttons to:
A: red circle
B: blue cross
X: green triangle
Y: purple square
The Left and Right Shoulder buttons refer to the topmost buttons on the rear of the controller, while the Triggers are the larger lower buttons.
Push the left and right analogue sticks in for the Left and Right Thumbs. Click OK when you’re done.
Top tips from Lucy
Install Raspbian desktop
RetroPie is built on top of the Raspbian operating system. You might be tempted to install RetroPie on top of the Raspbian with Desktop interface, but it’s actually much easier to do it the other way around. Open RetroPie from EmulationStation and choose RetroPie setup. Select Configuration tools and Raspbian tools. Then choose Install Pixel desktop environment and Yes.
When it’s finished, choose Quit and Restart EmulationStation. When restarted, EmulationStation will display a Ports option. Select it and choose Desktop to boot into the Raspbian desktop interface.
Username and password
If RetroPie asks you for the username and password during boot, the defaults are pi and raspberry.
The MagPi magazine issue 81
The rest of this article can be found in the latest issue of The MagPi magazine, which is out now and can be purchased online, at the Raspberry Pi Store, or from many independent bookshops, such as WHSmith and Barnes & Noble. We’ll also post the second half on the blog tomorrow!
You can also download issue 81 for free from The MagPi website, where you’ll find information on subscription options, and the complete MagPi catalogue, including Essentials guides and books, all available to download for free.
Website: LINK